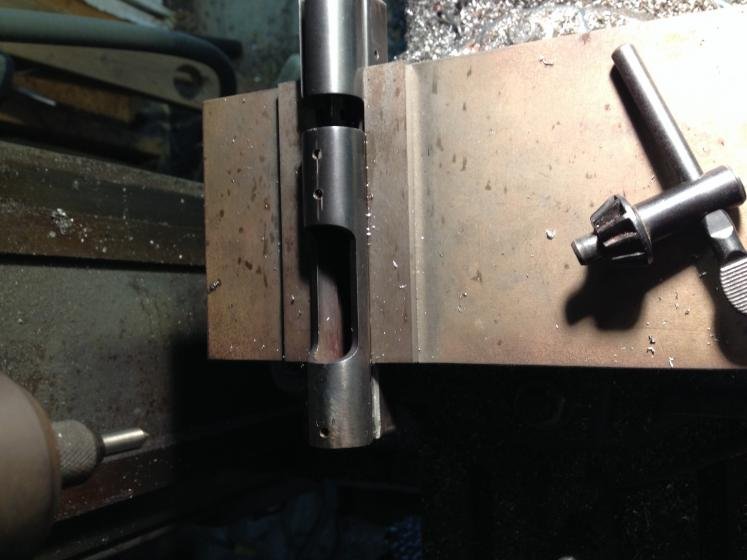
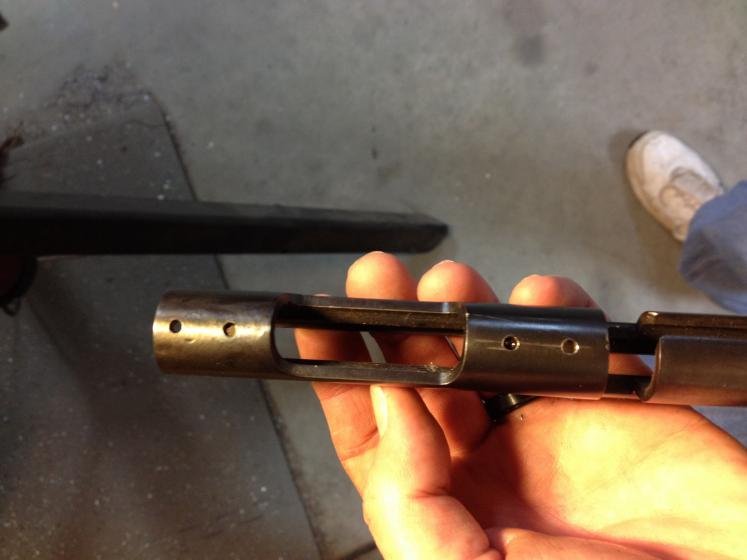
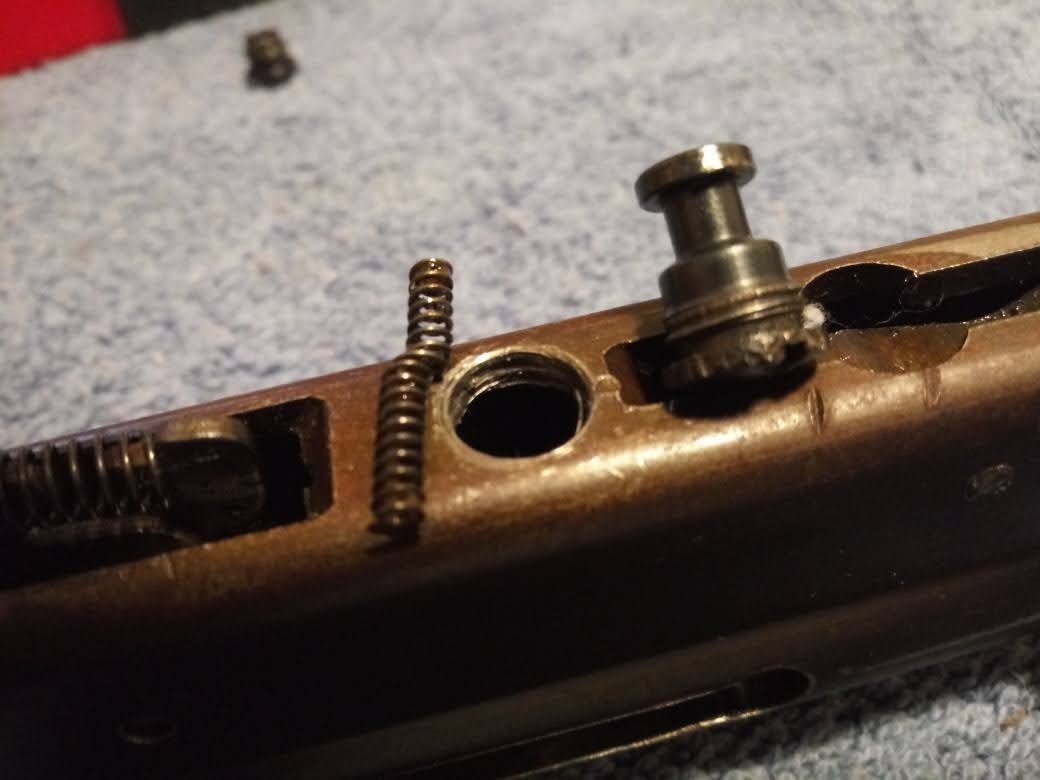
So after tapping the receiver next was to drill for the retaining pins. Started using an end mill since the receiver is curved. Made a flat spot where drill bit wouldn't flex. I used a machinist bit and punched right on through. Tapped in the pins.
Rifle was then successfuly test fired for 5 consecutive ****s without a hiccup!
That looks like a lot of work, but It'll be something that you can pass on. I still have the 513T that my dad gave me over 50 years ago and absolutely love it.
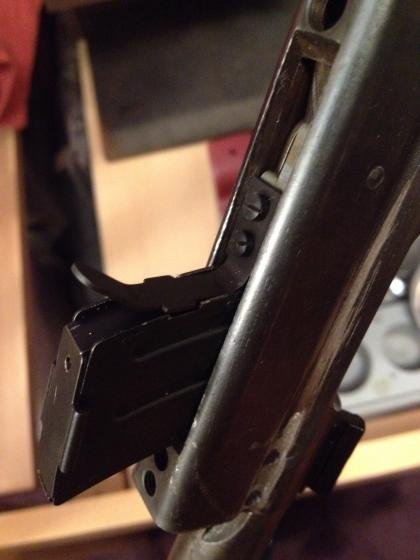
To locate where to put them I used a flat stone from a dremel chucked into my drill press. I raised the action as centered as I could until it barely touched. Then I moved the trey from side to side and it have a straight line across the top of the receiver.
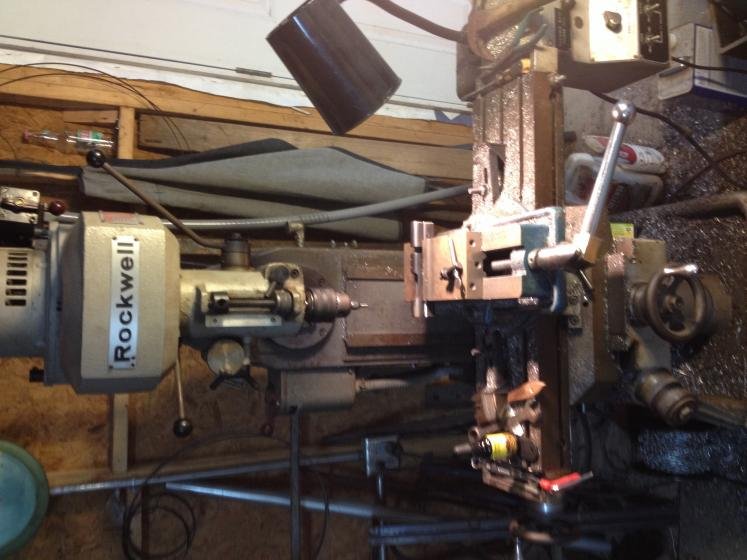
I drilled the holes on the mill. Much easier that way. Drilled first hole, tapped in while in place, and screwed it into place. Then I moved te receiver ove to the other mount hole and centered it up. Removed the mount and drilled and tapped.
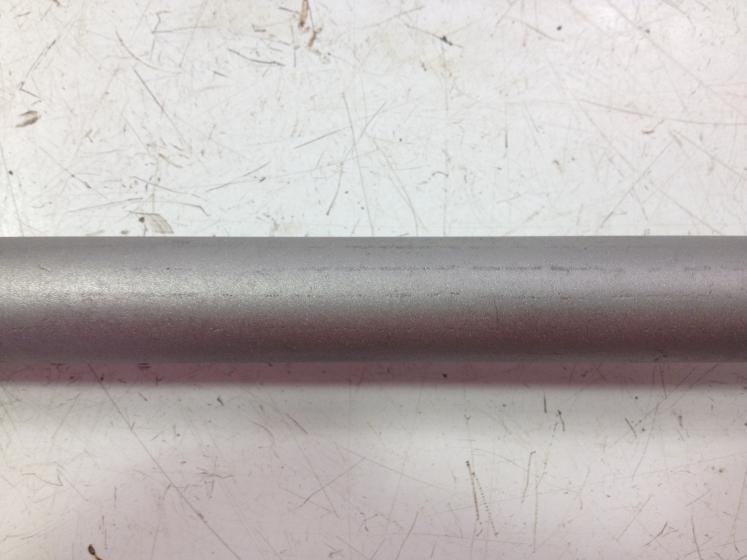
My intent was to sand everything to a 320 grit finish. Today after I started I found some fine putting in a couple spots on the barrel that I would be able to draw file or sand out. So I decided to sandblast all the metal and blend the spots better. So with tht being said it also looks as though I have an opportunity to hot blue it at my buddies instead of rust blueing it. So I believe I am going to go that route. A couple hours in the holiday season vs a couple 5 days.
Hopefully the sand blasted finish will look parkerized when completed.
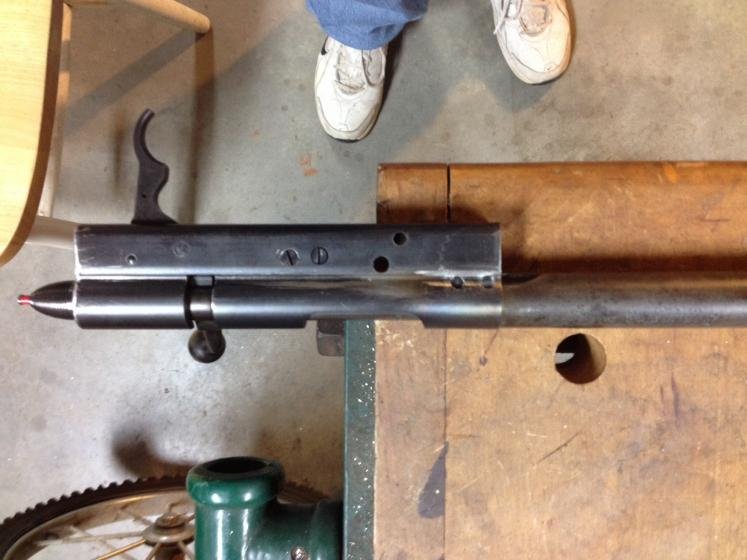
The lines on the barrel are actually flat spot from when the barrel went through Remington's stamping machine for all the lettering etc. It was not visible until it was sanded.