Ever one to do it my way....I wanted the loading gate back cut for finger access to flip it open and a matching scallop on the right side.
Back to the shop and 45 minutes later it was done to my satisfaction. The scallops ain't as big or deep as those from the spensive houses but I like em and it left me enough metal to make the loading gate function the way I like it to, easy.
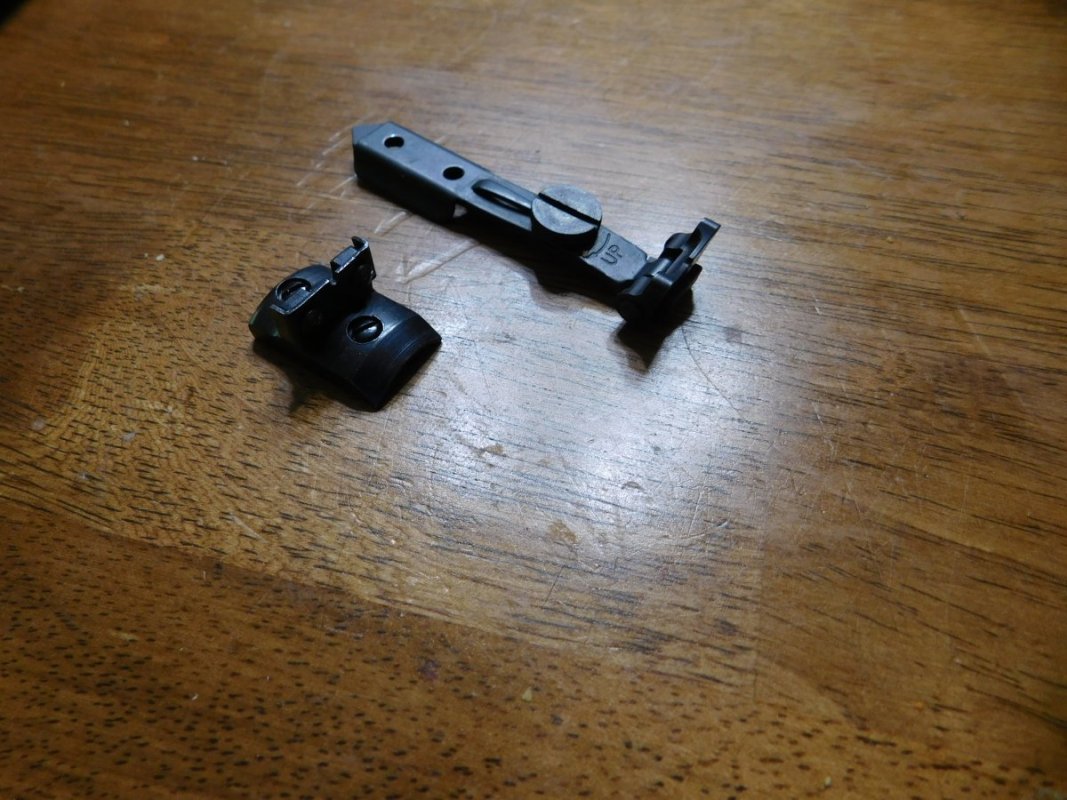
So, the loading gate, scalloped front and rear for function and looks. Just enough scallop on both sides to look and work right and leave the original round tailed shape to the gate. Both notches were filed in by hand then finished and straightened on the drill press with 80 and 120 drums.

Installed on the loading side....thumb access and a scallop.

Flips open easy and the original contour of the loading gate is retained but without a knife edge.....just a bit of that original flat left.

Closed you can see how much extra finger room there is for positive function when the back of the loading gate is scalloped.

Both scallops are the same height....the top of the concavity is just shy of the top of the loading gate. Both parallel to the recoil shield and have the same thickness from the face of the recoil shield. The loading gate side is slightly shallower since there just ain't enough metal in the gate to have a deeper scallop and a back scallop without loosing the rounded shape of the tail of the gate. But, visually, its fine and I am very happy.


I got the light bad on this photo but the gate scallop does not cut into the frame above the gate. Just below, mirroring the off side scallop. I'll shoot a better photo later. But for now, looks like its range time for this ol man along with the arthritis project. I think the last major mod for the Gentleman's Workhorse will be a Bisley trigger for less length of pull, a stainless cylinder pin and perhaps a final shaping of the grip panels.

Back to the shop and 45 minutes later it was done to my satisfaction. The scallops ain't as big or deep as those from the spensive houses but I like em and it left me enough metal to make the loading gate function the way I like it to, easy.
So, the loading gate, scalloped front and rear for function and looks. Just enough scallop on both sides to look and work right and leave the original round tailed shape to the gate. Both notches were filed in by hand then finished and straightened on the drill press with 80 and 120 drums.
Installed on the loading side....thumb access and a scallop.
Flips open easy and the original contour of the loading gate is retained but without a knife edge.....just a bit of that original flat left.
Closed you can see how much extra finger room there is for positive function when the back of the loading gate is scalloped.
Both scallops are the same height....the top of the concavity is just shy of the top of the loading gate. Both parallel to the recoil shield and have the same thickness from the face of the recoil shield. The loading gate side is slightly shallower since there just ain't enough metal in the gate to have a deeper scallop and a back scallop without loosing the rounded shape of the tail of the gate. But, visually, its fine and I am very happy.
I got the light bad on this photo but the gate scallop does not cut into the frame above the gate. Just below, mirroring the off side scallop. I'll shoot a better photo later. But for now, looks like its range time for this ol man along with the arthritis project. I think the last major mod for the Gentleman's Workhorse will be a Bisley trigger for less length of pull, a stainless cylinder pin and perhaps a final shaping of the grip panels.