Bout done, all but the final sight in and already checked the fit in the DeSantis cross draw rig. List of customizing is somewhat as follows: Bisley hammer and trigger, trigger shim, Ron Power old style two piece SS Colt Grip frame ground to Birdshead, Bloodwood grips, topstrap flattened and nosed, 45 ACP cylinder fitted, Cimarron Cammed Ejector Rod Housing in steel, ERH screw converted to stud and nut, Reshaped ruger ejector rod and rod button, SS Ruger Birdshead Cylinder pin, recoil shield scalloped, loading gate scalloped and undercut, light trigger smoothing, Barrel shortened to a true 3.5" and squared and beveled and recrowned, Front sight replaced with a trimmed buffalo nickel, Ruger Superblackhawk Hunter 7.5" rear sight with white outline fill, wirebrushed finish with slow rust blue of action and barrel + Small parts. I think that's it. It was a long trip.
The bluing is done and looks great. A slight amount of speckeling on the frame but the barrel was clean and smooth. Fine for a working gun and I'm pleased with the look. Always ungentle with my firearms, they get used instead of rested in a dark safe I look forward to the final zeroing so I can fill the holster with its heft in the near future. For now, the assembly.
EHR Stud cinched in with medium locktite. Front sight ramp screw also in medium locktite with a smear of Black Max under the ramp to add some additional strength. Naturally, the metal and holes were cleaned and degreased first. Warming to ouch temp will allow release of the screw and adhesive should I ever want them off.

Ejection system installed. It clears the Cylinder pin so, it'll never have to come off again for any cleaning or maintenance of the overall gun. A big improvement from Rugers factory style captive cylinder pin which requires removal of the entire EHR system to clean the pin and oil its holes in the frame.

The Bisley Trigger is installed for now. I have the original trigger held back should I decide I like it better. Shooting time will tell me which way I want to go. Even with a spanky new trigger, the shim previously installed is still a good fit and helps insure the cylinder locks exactly when the sear hits the hammer notch...i.e. the hammer does not have to be drawn past the notch to proper lock the cylinder. As you can see, I could use and even thicker shim and I will be going back to replace the shim and thereby tighten up the mechanism just a scooch more.

Fitted and Matted Ron Power Trigger Guard is installed and the screws snugged in tight.

Fitted and Matted backstrap installed and the gun run thru all function checks, passing with flying colors. The trigger a smooth 3.75 lbs with a bit of take up and no gritty feel.

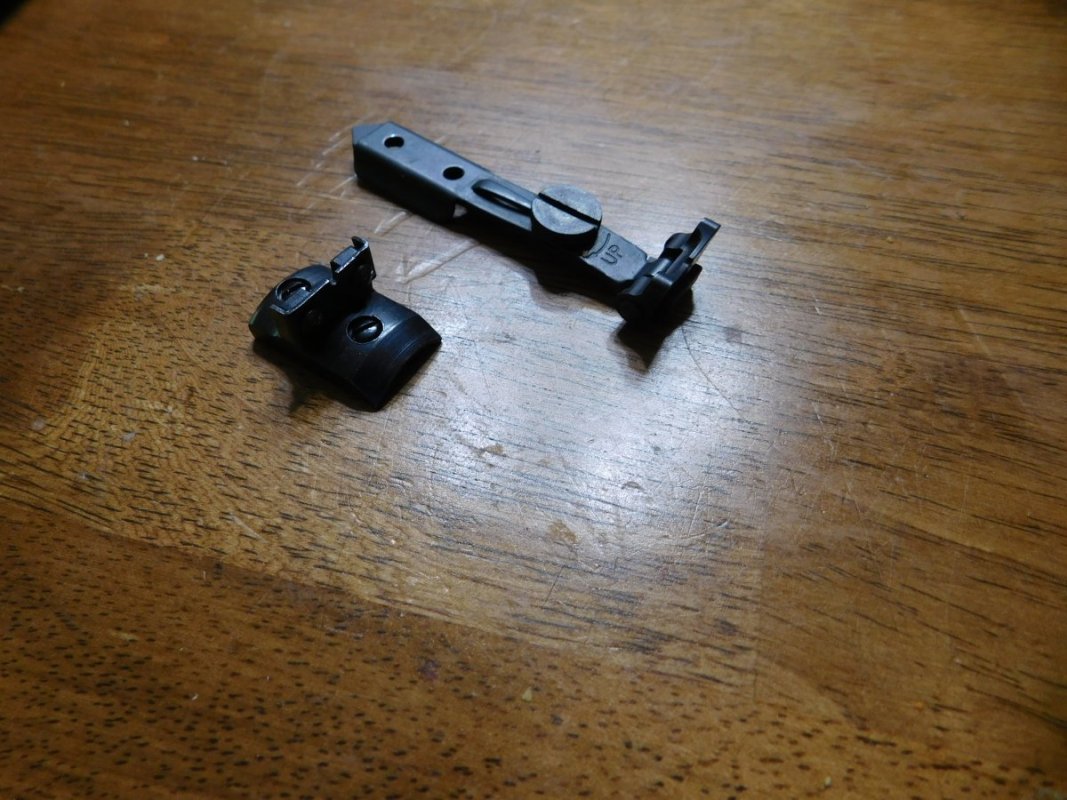
The Super Blackhawk Hunter 7.5" Rear Sight comes with outline grooves. Fast dry white out is a perfect and reversible filler to use here.

Bloodwood grip panels got a final sanding and rounding and finished in urethane, rubbed out smooth. The final finish is low gloss and the new rounder feel is even better in my hands. Anxious to try it out at the range!

For occasional assembly/disassembly, the Cimarron Camed EHR assembly can "Capture" the cylinder pin....and with a gently tug, the cylinder pin will slide right out from under the EHR button for more thorough maintenance and cleaning. For now, I drop in the cylinder and run thru the function checks one final time.

The bluing is done and looks great. A slight amount of speckeling on the frame but the barrel was clean and smooth. Fine for a working gun and I'm pleased with the look. Always ungentle with my firearms, they get used instead of rested in a dark safe I look forward to the final zeroing so I can fill the holster with its heft in the near future. For now, the assembly.
EHR Stud cinched in with medium locktite. Front sight ramp screw also in medium locktite with a smear of Black Max under the ramp to add some additional strength. Naturally, the metal and holes were cleaned and degreased first. Warming to ouch temp will allow release of the screw and adhesive should I ever want them off.
Ejection system installed. It clears the Cylinder pin so, it'll never have to come off again for any cleaning or maintenance of the overall gun. A big improvement from Rugers factory style captive cylinder pin which requires removal of the entire EHR system to clean the pin and oil its holes in the frame.
The Bisley Trigger is installed for now. I have the original trigger held back should I decide I like it better. Shooting time will tell me which way I want to go. Even with a spanky new trigger, the shim previously installed is still a good fit and helps insure the cylinder locks exactly when the sear hits the hammer notch...i.e. the hammer does not have to be drawn past the notch to proper lock the cylinder. As you can see, I could use and even thicker shim and I will be going back to replace the shim and thereby tighten up the mechanism just a scooch more.
Fitted and Matted Ron Power Trigger Guard is installed and the screws snugged in tight.
Fitted and Matted backstrap installed and the gun run thru all function checks, passing with flying colors. The trigger a smooth 3.75 lbs with a bit of take up and no gritty feel.
The Super Blackhawk Hunter 7.5" Rear Sight comes with outline grooves. Fast dry white out is a perfect and reversible filler to use here.
Bloodwood grip panels got a final sanding and rounding and finished in urethane, rubbed out smooth. The final finish is low gloss and the new rounder feel is even better in my hands. Anxious to try it out at the range!
For occasional assembly/disassembly, the Cimarron Camed EHR assembly can "Capture" the cylinder pin....and with a gently tug, the cylinder pin will slide right out from under the EHR button for more thorough maintenance and cleaning. For now, I drop in the cylinder and run thru the function checks one final time.