35 Remington Pump Completed

So just finished putting on the fifth coat of true oil. It does not take much after those other coats. This stuff goes a long way. To help ensure I didn't get any runs in the finish, I started at the tang and work the oil down in a circular motion. So far it has paid off. No runs or streaks that I have been able to see. One way I have found to tell if there is any excess oil is the wet feel. If you keep rubbing it will get tacky feeling. If it feels wet, keep speeding it around pulling it downward. I have also been getting it close to a light looking for imperfections by chanting the stock so as to highlight any streaks or excess oil.
 

Attachments

  • IMG_0643[1].jpg
    IMG_0643[1].jpg
    477.6 KB · Views: 25
  • IMG_0644[1].jpg
    IMG_0644[1].jpg
    481.2 KB · Views: 23
  • IMG_0645[1].jpg
    IMG_0645[1].jpg
    483.3 KB · Views: 23
  • IMG_0646[1].jpg
    IMG_0646[1].jpg
    480.8 KB · Views: 23
Last edited:
Lookin fine there. The grain and color will really pop with the final rub out and polish. Great work! Hows the sights comeing? How was the barrel to pull out? Easy or hard and how'd ya do it? Is it a simple bolt in like it looks or a simple bolt in with a darn tight bolt?
 
Lookin fine there. The grain and color will really pop with the final rub out and polish. Great work! Hows the sights comeing? How was the barrel to pull out? Easy or hard and how'd ya do it? Is it a simple bolt in like it looks or a simple bolt in with a darn tight bolt?

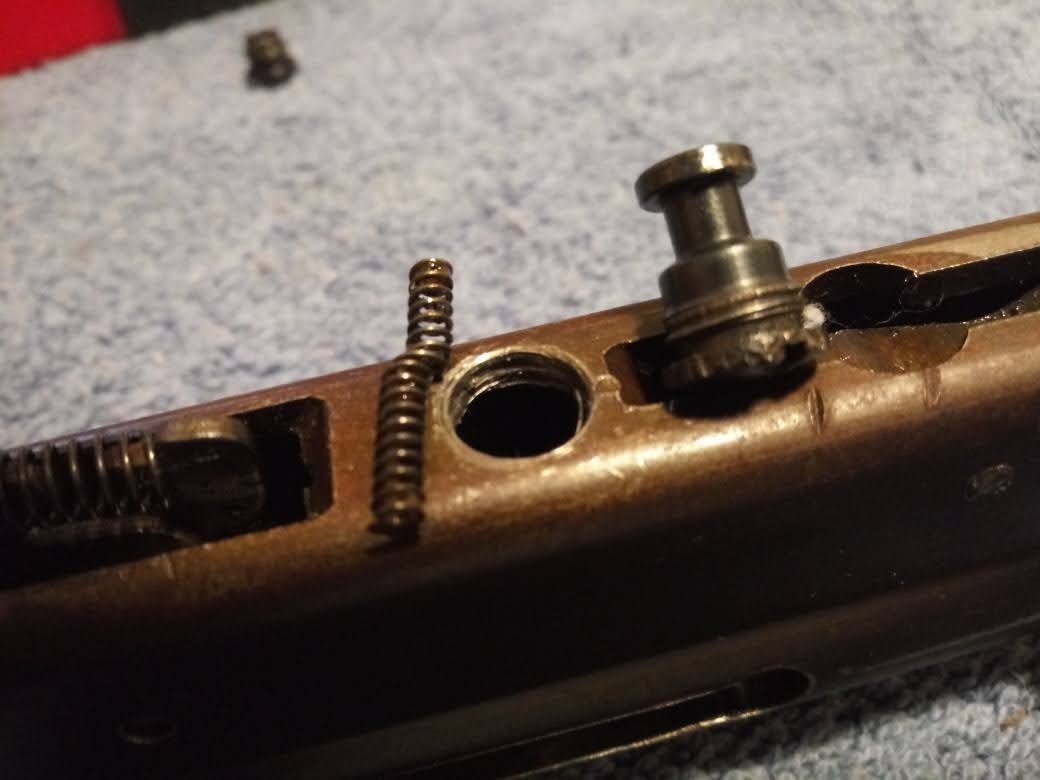
I plan on dropping in on the gun smith tomorrow to see how the sights and crowning are coming along. The barrel is pretty simple to remove. Take the screw out of action bar tube. Push the action bar back and unscrew the tube and the barrel comes right out with the bolt and action bar assembly. I watched a video on youtube prior to taking it apart lol. Despite the spray paint the rifle was actually maintained quite well. No rusted or super tight nuts to unscrew.

My final rubout will not look as good as yours did Sharps, lol . I am still an ameteur learning as I go.

- - - Updated - - -

Looks like the wood is coming along. It will make a fine brush rifle sir.

I am hoping so lol
 
Since I don't have a nifty stock jig, I made one out of my reloading press and an old die body I stripped for parts. This allowed m to keep one hand free and not put finger prints in the finish. I used a medicine cup to dip out of. What you see in the cup is what I started out with. when i was finished rubbing it down I poured half of it back. True Oil goes along way. Sorry about the side ways pics but for whatever reason when they upload from my phone they come out looking that way.
 

Attachments

  • IMG_0649[1].jpg
    IMG_0649[1].jpg
    458.9 KB · Views: 14
  • IMG_0648[1].jpg
    IMG_0648[1].jpg
    487 KB · Views: 22
  • IMG_0650[1].jpg
    IMG_0650[1].jpg
    488 KB · Views: 15
Last edited:
Awe hell...I never thought of that for holding stocks. I always try to hang onto them tiny lil screws the buttplate is held on with...dropped a few in the process too. Thanks!

How do ya keep the truoil in a sideways cup anyhow?
 
Here is the stock after the final rub down with steel wool. I believe it is asa about as satin as it is going to get. I don't believe I am going to try the rub out or wax with the gouges in the stock I am going to show in the next series. I think i will have a hard time getting the stuff out of them.
 

Attachments

  • s1a.jpg
    s1a.jpg
    148.1 KB · Views: 17
  • s1b.jpg
    s1b.jpg
    150.3 KB · Views: 15
  • s1c.jpg
    s1c.jpg
    135.2 KB · Views: 14
  • s1d.jpg
    s1d.jpg
    130.9 KB · Views: 19
So here are pics of the gouges I was talking about. They all go with the grain. I did the best I could to get as many out as I could sanding against the grain with my sanding block. The only sanding device i own. I let my father look at the stock and he thinks somebody used an orbital sander on it, possibly causing the grooves/gouges. You can see by looking at the side view of the butt plate he didnt even take it off when it was sanded.
 

Attachments

  • s2a.jpg
    s2a.jpg
    140.5 KB · Views: 16
  • s2b.jpg
    s2b.jpg
    172.2 KB · Views: 23
  • s3.jpg
    s3.jpg
    140.2 KB · Views: 17
  • s4.jpg
    s4.jpg
    126.6 KB · Views: 12
As far as the rifle, it is waiting it's turn at my trusty gunsmiths shop. He does good work and sometimes it takes a bit for him to get to things. Just the normal waiting in line stuff. The blue tape is holding the fron sight to the reciever so it don't get lost. But as you see from the close up of the reciever, the metal is in pretty good shape for a 54 year old deer rifle that was painted.
 

Attachments

  • g1.JPG
    g1.JPG
    445.8 KB · Views: 18
  • g2.JPG
    g2.JPG
    464.4 KB · Views: 17
Back
Top Bottom