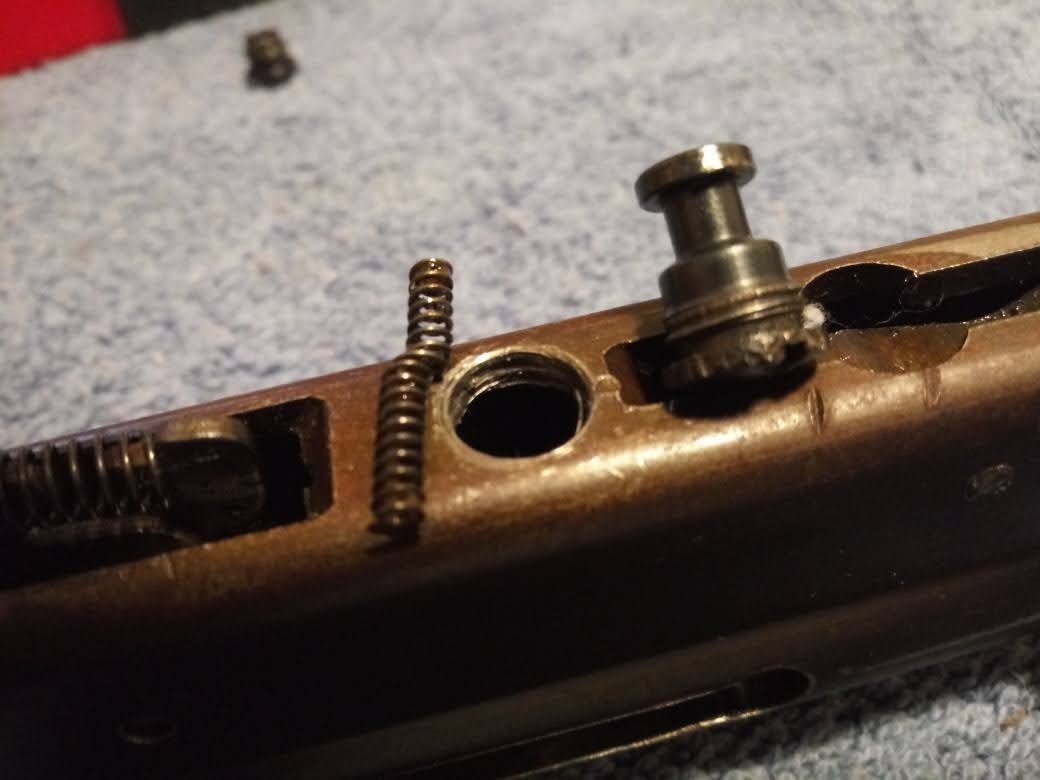
So a couple weeks back I got my hands on a vintage Remington 760 Gamemaster in 35 Remington made in 1958. It was spray painted camoflauge and had an older Redfield scope, reportedly time period correct.
So I decided I wanted to customize this rifle to my liking since any real collecter value was spraypainted away.
Pics are of the gun as it was when I traded into it. My plan is to cut down the barrel and put a synthetic stock on it and make it a lightweight stalking rifle for hunting season.
So I decided I wanted to customize this rifle to my liking since any real collecter value was spraypainted away.
Pics are of the gun as it was when I traded into it. My plan is to cut down the barrel and put a synthetic stock on it and make it a lightweight stalking rifle for hunting season.
Attachments
Last edited:


![IMG_0545[1].jpg](https://theoutdoorstrader.b-cdn.net/data/attachments/64/64018-8aeec33dae5283384bfdc3c0dd91d11a.jpg)
![IMG_0594[1].jpg](https://theoutdoorstrader.b-cdn.net/data/attachments/64/64019-82d11007e949618e25bee0cd2189a41c.jpg)
![IMG_0595[1].jpg](https://theoutdoorstrader.b-cdn.net/data/attachments/64/64020-5a316a4269153cb5e7580219a8673997.jpg)
![IMG_0597[1].jpg](https://theoutdoorstrader.b-cdn.net/data/attachments/64/64021-dc5aa8f6960f5a574d8449fe8d218ed6.jpg)
![IMG_0598[1].jpg](https://theoutdoorstrader.b-cdn.net/data/attachments/64/64022-12073101f72b312369d4c11bd68211c1.jpg)
![IMG_0600[1].jpg](https://theoutdoorstrader.b-cdn.net/data/attachments/64/64026-53e00e309af65c453b59d72d9d44018d.jpg)
![IMG_0608[1].jpg](https://theoutdoorstrader.b-cdn.net/data/attachments/64/64027-a5379804ba58e7d79a8ff26707917b71.jpg)
![IMG_0606[1].jpg](https://theoutdoorstrader.b-cdn.net/data/attachments/64/64028-5eddb951bd2b57e3d74f4694db517f22.jpg)

![IMG_0614[1].jpg](https://theoutdoorstrader.b-cdn.net/data/attachments/64/64033-65c94dce881cf66ec96535c9e3a38254.jpg)
![IMG_0613[1].jpg](https://theoutdoorstrader.b-cdn.net/data/attachments/64/64034-8ea644662e2ed8c8cac4c5ef04c850e6.jpg)
![IMG_0615[1].jpg](https://theoutdoorstrader.b-cdn.net/data/attachments/64/64035-4473a48b448e38a8641f3fe86b407830.jpg)
![IMG_0616[1].jpg](https://theoutdoorstrader.b-cdn.net/data/attachments/64/64036-3ffd9b778a4a0fc2c4bdb9e770b854bc.jpg)
![IMG_0618[1].jpg](https://theoutdoorstrader.b-cdn.net/data/attachments/64/64037-9d8925ec6f93af9cf76376b495517416.jpg)
![IMG_0621[1].jpg](https://theoutdoorstrader.b-cdn.net/data/attachments/64/64039-6e1f7b1292e13ecbcd6cf0f53f20bfc2.jpg)
![IMG_0622[1].jpg](https://theoutdoorstrader.b-cdn.net/data/attachments/64/64040-02d822973c6cbd21725d139bacfea4e4.jpg)
![IMG_0635[1].jpg](https://theoutdoorstrader.b-cdn.net/data/attachments/64/64041-82e09778c6cf3a43102a58de85a352c2.jpg)
![IMG_0636[1].jpg](https://theoutdoorstrader.b-cdn.net/data/attachments/64/64042-370e0b8093072d0051dd45595c7cd817.jpg)
![IMG_0639[1].jpg](https://theoutdoorstrader.b-cdn.net/data/attachments/64/64043-1017e9af3cf2f9711b59f21f3bdec99e.jpg)
![IMG_0640[1].jpg](https://theoutdoorstrader.b-cdn.net/data/attachments/64/64045-609370c12c067626bd3d70bb2f89c865.jpg)
![IMG_0641[1].jpg](https://theoutdoorstrader.b-cdn.net/data/attachments/64/64047-97ed21d4335457ca8e3589e8ce5577bd.jpg)
![IMG_0642[1].jpg](https://theoutdoorstrader.b-cdn.net/data/attachments/64/64048-e53a5ffffeeaff39e3a122a2559dbf6b.jpg)

