I think it looks very sharp and a substantial improvement over the old finish. Even some of the factory "blue" jobs came out different than expected. My dad had an old Ruger single (SBH) .44 Magnum that the loading gate started turning a plum color. His underwear was in a bunch over it but I thought it was rather attractive and gave the gun "character".
HK had some P7's factory "blued" and accidently turned a plum color. Some like it. My first hot blue job the barrel of the pistol turned a plum brown color. I thought about re-bluing it but decided against it as it gave it an aged look that looked appropriate to me.
I did discover that the stainless steel pot I used was most likely the culprit and sure enough when I used a ceramic pot the second time around the next pistol's frame and slide came perfect, better than factory.
If you wanted to give it another go around, personally I wouldn't as what you have accomplished is great work; you could try a more traditional hot blue (lye and nitrate). I don't think you would even need to do more than break it down and degrease it. That's another nice thing about hot blue as touch ups are 40 minutes away once the salts are hot enough. It's a fairly simple ratio and once mixed/heated to around 270 degrees F should give you that deep dark color you are looking for in about 40 minutes. The components are reusable until they fail to blue and are cheap but the results are worthy of a full on factory job.
Great info RamRoddoc!! I knew I shoulda gone with the ceramic coated pot! dang it!!
Everything I read about this process about half the folks went stainless half went ceramic. Standing in the kitchen Isle at Wally World, the Stainless was about half the price .
Oh well, Im gonna PM you about the recipe you use for hot bluing. Ive got a full 1911 build coming soon that I want to go with a deep blue finish, I would much rather do it myself and gain the experience that to farm it out....
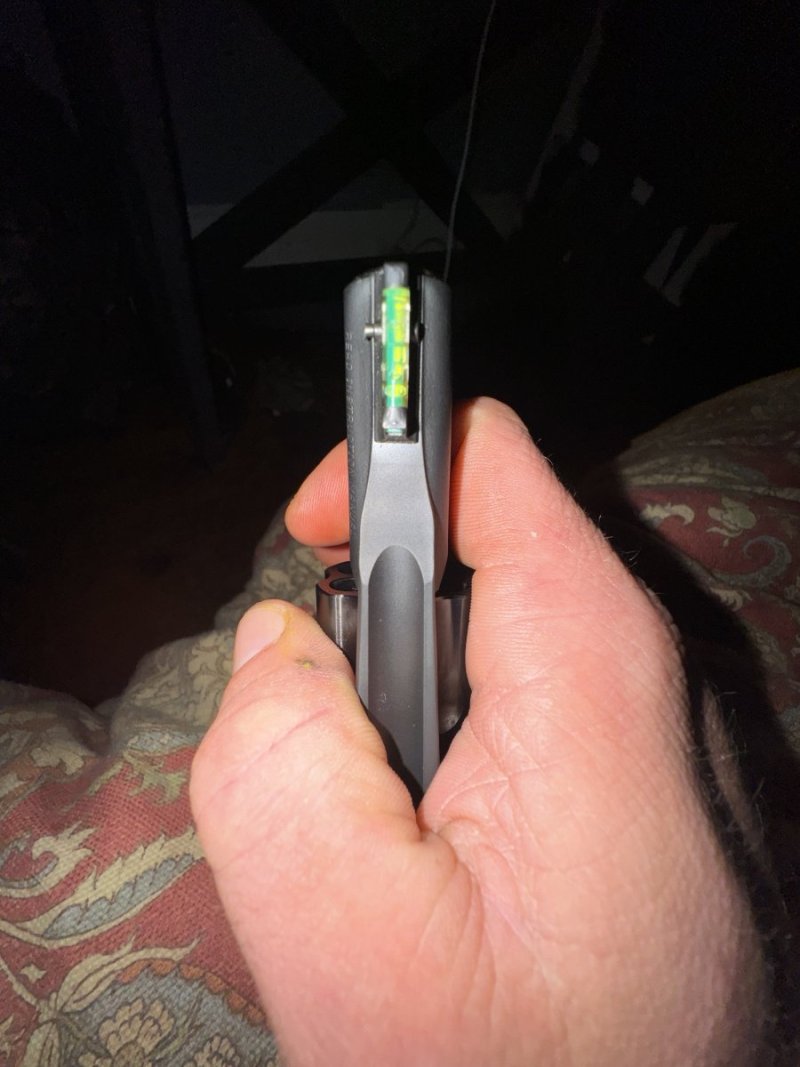
Got the front sight staked to the slide this afternoon. Also got the rear sight to fit the dovetail. One of the two was not cut to standard "GI" specs, but no big deal, everything went smoothly and got it all fit.
I thought I remembered reading that the RIA slides with GI sights were cut to standard specs But I guess not, so be warned, if you dont have a good selection of files, you may want to take it to a trusted local smith, shouldnt cost much to get everything fit up nice.
I took a few pictures of the process and will post them tomorrow... Pretty tired tonight.
Got a fair amount done yesterday and today and have some time to post some pictures.
First up was staking the front sight. This is a pretty straight forward job but you really need a staking tool. They are about $35 from Brownells. The biggest problem guys run into is not fully staking or "mushrooming" the tennon. I read posts all the time about "removing the EXTRA metal" with a dremmel. There is NO extra metal, you need to keep staking untill the tennon is squished down at least 3 times its normal width. At that point, a few swipes with a file or some sandpaper is all thats needed.
On to the rear sight.
Ive had mixed emotions about this rear sight since it came in the mail. It increases the sight radius and really improves the sight picture but it looks sort of like its sitting on top of the slide. Reminds me of some big "wing" spoiler on a kids Honda civic!
I think I finally came up with a way to blend it in and make it look more like a part of the gun.
First thing I did was remove the factory serrations on the sight...
Then I used the 30lpi file and cut new ones in to about half depth.
Here you can see the slide has been clamped down with a thick metal plate to use as a guide to keep the serrations straight.
You can also see the extractor I forgot to blue
You want to keep the file tight against the metal plate as it cuts into the slide. Get the cuts almost completely done before removing the "jig" plate.
Here you can see why I only cut the sight about half way, wanted to make sure they lined up perfect with the cuts on the slide.
The rear of the slide and sight got some cold blue. Cleaned good with alcohol then heated with a heat gun. Apply cold blue and card with a wire brush.
Here it is posed outside again.
I also took a few mins to polish the crown carefully using some 600 grit paper soaked in remoil then some white polish on a small wheel. Also did the spring plug while I was at it.
Last pic for today shows the new sights. If you cant hit it with these things.... well... you just aint gonna hit it!!
Well, the project is almost done. Just got to fit the internals as best we can and go shoot the little sucker. Next post will be the final wrap up, Ill get some good pics of the completed gun and report on how the wife likes it at the range.


 .
. 


 :rolleyes:")