First boil, a good bloom of rust on the steel/iron frame.
Fluffy red converted to fluffy black, most of this will buff off leaving a thin coat of battle ship grey ferroferric oxide. Just what I want, tightly bonded black iron oxide coming up slowly and beautiful and durable.
A rub out with degreased 0000 steel wool removes the fluff leaving only the strongest bonds in place...overall, just as expected after the first boil, light battleship grey and even and ready for a coating of sauce and rusting till dinner time tonight.
The second of 5 to 7 boiling cycles for this old frame...tightly bound black oxide building with each cycle of coat, rust, boil, card, repeat.
Just water...filtered to remove sand and junk in the whole house filter. If ya have high chlorine ya might want to filter again with activated charcoal to prevent spotting or just use distilled water from the store. I just use good clean tap water and an iron pot to boil it in. Into the cool water, bring it to a boil and let it roll for 5 to 10 minutes to convert red iron oxide to black oxide.
Plenty of good black fluff on there...should be nice and even battleship grey under there now...very close to the halfway done point for bluing once a good battleship grey comes up. Hard metals, rust and blue slower, irons and softer metals faster. Slowest and hardest in my experience have been Marlin 336 mag tubes and Win 94 receivers. But with persistence they blue beautifully too. Plenty of loose oxides, only the ferroferric oxide is retained after carding with degreased 0000 steel wool.
Here half carded...nice deep battleship grey developing underneath. Very fine grained and durable, only the best stays on the steel with the carding operation.
Rust bluing is a rusting operation, just like hot bluing...water and heat in both processes convert red oxide to black. Yes, both are done with bore and actions open...no pressure explosions and spattered hot water or caustics that way...neither harm the finest match grade bore...yer dirty bullets and overheated barrels cause more damage than any bluing operation.
Its rusting again now, should be able to do a third boil and fourth rust before bed tonight.
How do you degrease steel wool or do you buy it that way somewhere? All steel wool I've ever had seems to have light oil in it. I'm preparing to try the rust bluing on an old Ithaca 37.
The fourth coat came up a bit more black than grey. Its good news. Thurs or Fri evening should see the frame done. The lever is on its first overnight rusting and should follow completion shortly after. Then on to the barrel and done.
Unwind it...spray with brake cleaner or some other quick drying solvent. Roll it back up when dry and tear off what ya need. Handle the metal parts with out touching them at all, use paper napkins to prevent fingerprints. Spots and prints mean a complete strip and redo, they never blue. Sometimes the steel wool is oil free enough to use w/out degreasing. Practice your technique and supplies on scrap parts and tools and junk steel first.
Sharps when I was doing my last rifle I was carding off the barrel and had some sweat that dripped off my forehead and hit the barrel. I had an oh$hit moment to say the least. But I figured I would try something before restarting.
I took a denatured alcohol soaked cotton ball and cleaned the area and let it dry. Repeated the process three times and I cannot tell where it ever was. The spot did continued to darken.
But this did happen after the boil cycle. And I am sure I would not get that lucky had it been in the rust cycle.
Yep, got to it hot before the oil could soak in and set and alcohol prolly pulled it out....lucky ducky!!!
As for this project, almost no rust on the frame after a 12 hour sit so I think its as black is it'll get and I'm gonna check and may call the frame done at this point...lever should catch up by tonight or tomorrow then action assembly time!
Lightly greasing all the newly rust blued parts with Rig grease and installing the trigger return spring and mainspring stud.
Loosely install the barrel screw.
The mainspring assembly, the lever is arched, arch go's up.
With the hammer at half cock, install the lever and spring. The spring sleeve is pressed home and into the groove in the mainspring stud to capture the assembly.
Install the firing pin and its cross pin. Lightly stake the cross pin on both sides to capture it. Remember, its old, not a hard smack on the SmasherWacker, Medium smush is plenty to displace a bit of metal at the hole and capture the pin. Do both sides.
Install the hammer lever/lever link. Also, gently stake this new cross pin on both sides. Just a touch to keep the pin from sliding out to the side and tying up the action later if it becomes loose with age.
And now its starting to come together...looking good. This old piece of highly figured walnut has a flaw or two to match the scuffs and pits in the barrel and action...a lil chip trying to come off at the toe of the lower tang...but its tight and I won't pry it out to glue it back in. To do so will tear good wood and the repair will still be visible after refinishing. Best to leave it alone, it'll mostly hide under the tip of the lever anyway.
The old iron or low grade steel action blued up a dark battleship grey. It looks black with grease on it but a good color none the less. I'm pleased...even the pitting and the scratch on the left panel looks "right" for this old gun.
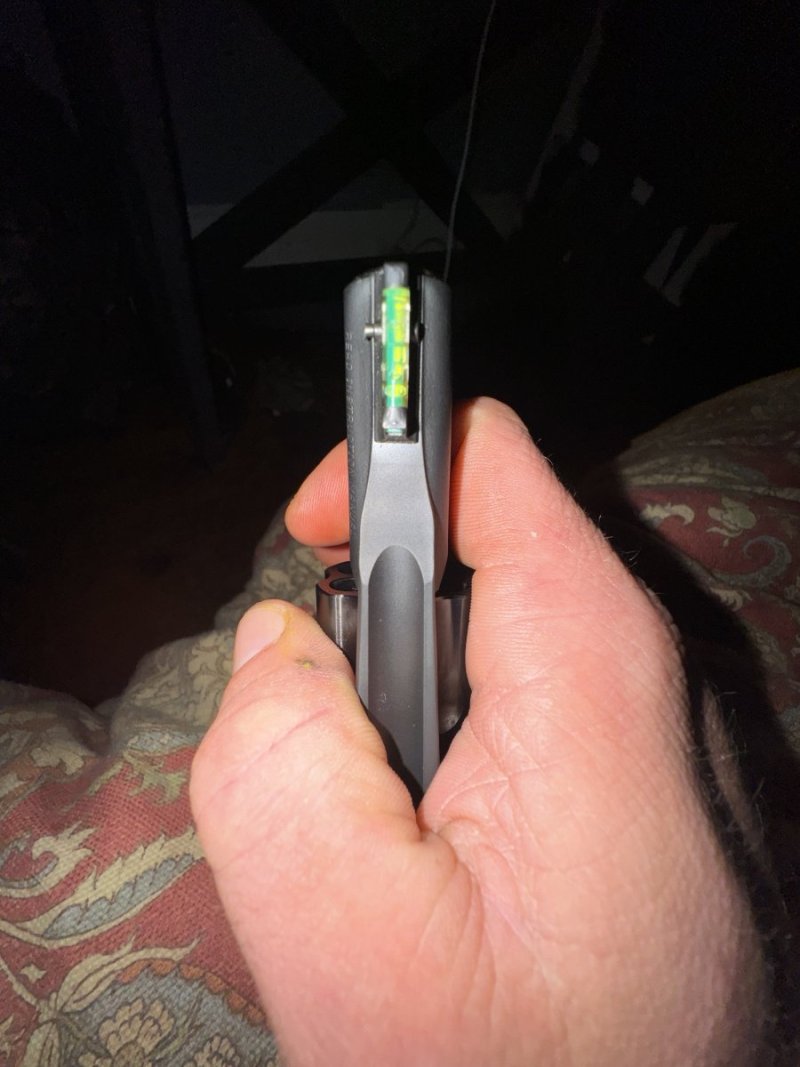
The very lightly stamped markings are much more visible with the new finish. Glad I did not polish, I would have lost these key markings and a bit of authenticity as well.
I would love to have the rest of this tree for making stocks with.
Fine pitting on the right action panel, not bad at all.