Hello,
Some of you may remember my RIA compact project that included a lot of metal work and an attempt at Rust Bluing.
I used an accelerated rust blue, and the results were OK Thet were nothing spectacular due to some inconsistent color. Well that project inspired me to try my hand at Hot Bluing! Ive got a buddy who also has a project 1911 (pictured in this thread) who agreed to go in for half the costs and we got together yesterday and gave it a shot! And HOLY SMOKES did they ever turn out NICE!!!! But first, Here are some shots of the guns being prepped:
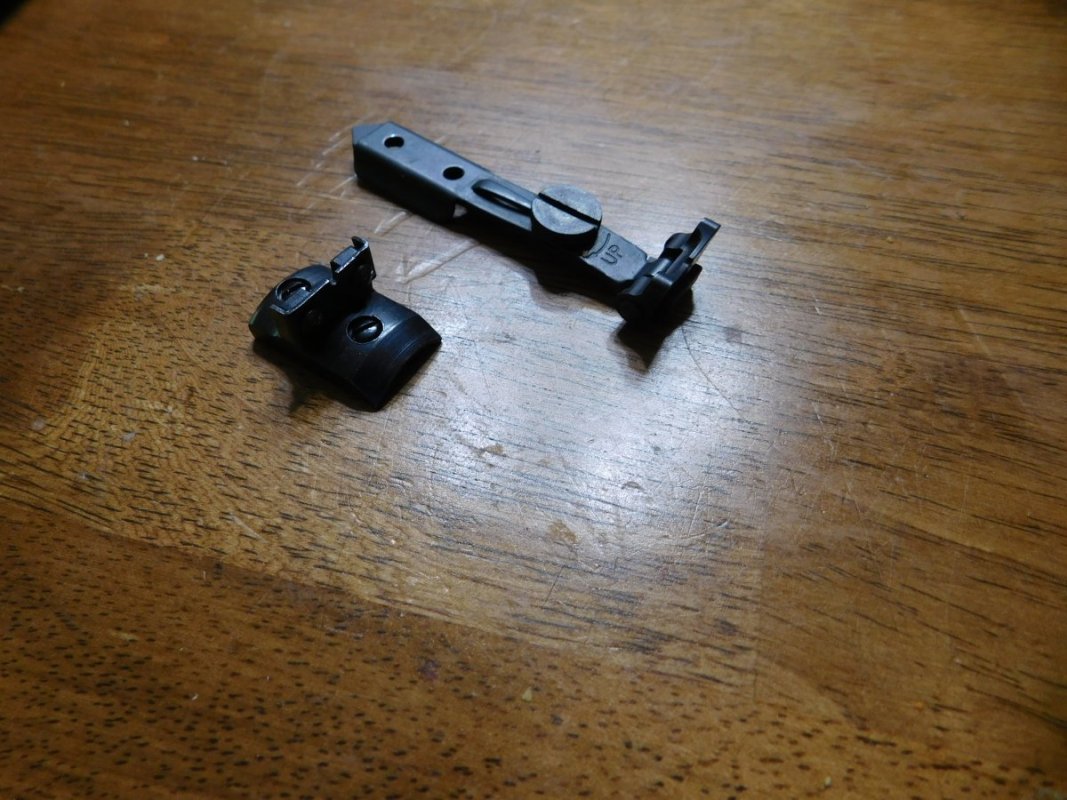
Here they are after bead blasting and polishing the flats of the slides,

YES, thats a RIA 2011 Railed 1911 with checkered front strap, Bobtail cut and adjustable sights!!!

Here is a link to the recipe and basic instructions for the bluing salts
I gathered up all the stuff we would need over a two week period. Everything came from my local ACE hardware or Wally world. Total cost of about $100

Got 3 pots of water going on the grill, one final degrease and two for rinse at different times.


Got the parts thoroughly degreased and began the process.

For safety sake we set the salts up a couple of yards out in the grass behind my shop.
Here is the first part to come through the whole process, its the compact frame just after being pulled from a motor oil bath after the bluing.

That was really exciting. When it first came out of the salts it was really brown, we were pretty bummed! rinsed and went into the oil. While it sat in the oil we both started trying to figure out what went wrong.... Pissed, I pulled it out, and started wiping it down and the layer of brown wiped right off leaving the most beautiful deep dark black I had ever seen!!!!
This process is not at all difficult, it can be dangerous if you are not careful but with proper care, this is a very simple and inexpensive finish. I will definatly be doing it again and would reccomend any DIYer out there be careful and go for it. Its no more difficult then Ceracote or Duracote, its all in the prep work. Hot Blue will NOT hide anything, its gott be perfect going into the tank. If it is, you will be rewarded!
Pics of finished gun in next post...........
Some of you may remember my RIA compact project that included a lot of metal work and an attempt at Rust Bluing.
I used an accelerated rust blue, and the results were OK Thet were nothing spectacular due to some inconsistent color. Well that project inspired me to try my hand at Hot Bluing! Ive got a buddy who also has a project 1911 (pictured in this thread) who agreed to go in for half the costs and we got together yesterday and gave it a shot! And HOLY SMOKES did they ever turn out NICE!!!! But first, Here are some shots of the guns being prepped:
Here they are after bead blasting and polishing the flats of the slides,
YES, thats a RIA 2011 Railed 1911 with checkered front strap, Bobtail cut and adjustable sights!!!
Here is a link to the recipe and basic instructions for the bluing salts
I gathered up all the stuff we would need over a two week period. Everything came from my local ACE hardware or Wally world. Total cost of about $100
Got 3 pots of water going on the grill, one final degrease and two for rinse at different times.
Got the parts thoroughly degreased and began the process.
For safety sake we set the salts up a couple of yards out in the grass behind my shop.
Here is the first part to come through the whole process, its the compact frame just after being pulled from a motor oil bath after the bluing.
That was really exciting. When it first came out of the salts it was really brown, we were pretty bummed! rinsed and went into the oil. While it sat in the oil we both started trying to figure out what went wrong.... Pissed, I pulled it out, and started wiping it down and the layer of brown wiped right off leaving the most beautiful deep dark black I had ever seen!!!!
This process is not at all difficult, it can be dangerous if you are not careful but with proper care, this is a very simple and inexpensive finish. I will definatly be doing it again and would reccomend any DIYer out there be careful and go for it. Its no more difficult then Ceracote or Duracote, its all in the prep work. Hot Blue will NOT hide anything, its gott be perfect going into the tank. If it is, you will be rewarded!
Pics of finished gun in next post...........
Last edited:


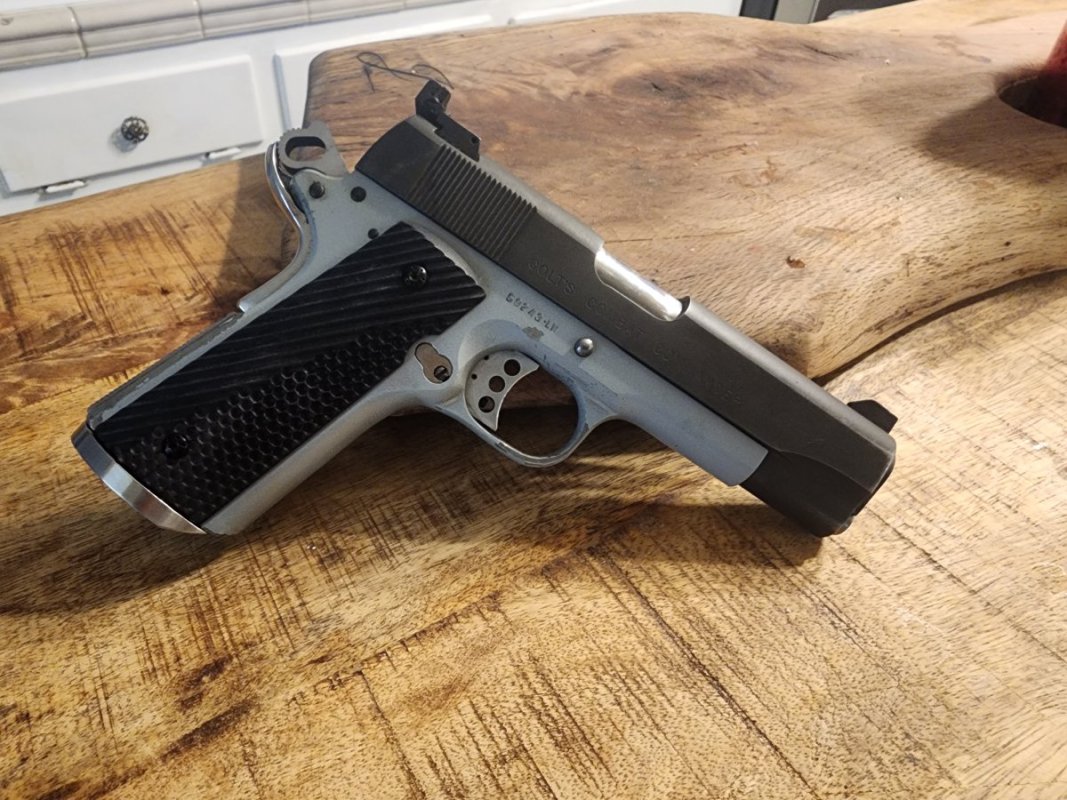
 :rolleyes:") So now it has some SS Wilson Combat hex head screws!! Still shopping around for wood grips, but We really like the feel of these Pierce rubber grips and I think they look ok.
So now it has some SS Wilson Combat hex head screws!! Still shopping around for wood grips, but We really like the feel of these Pierce rubber grips and I think they look ok. )
) So I started backing up the grits till I found a balance of even surface and nice polish.....Wound up with a 600 grit finish. (most manuf. stop at 400) so its still pretty darn slick.