UH, k. that seems slightly suggestive. I am trying to not say anything. Could you post pictures of your "other guns" so we can get a good starting point on this project? LOL
Nice job, Mark. I love projects like this, just never seem to have the time to get to them. Planning on cleaning up an old 1950s Single-Six next month and trying my hand at rust bluing it.
Thant would be great! I would encourage you to use a standard slow rust blue, bet the results would be worth the time. Really, would take the same amount of time, just spread out over a week, one hour a day instead of consuming one whole day.
Sure hope you post some pics of it when you are done!
UH, k. that seems slightly suggestive. I am trying to not say anything. Could you post pictures of your "other guns" so we can get a good starting point on this project? LOL
Well thats about it guys. Its done. Fitting the Ed Brown trigger was a no brainer since the trigger channel in the frame is pretty oversize. Its the first time Ive installed one of these without having to trim the top and bottom of the trigger. I used the stock sear and hammer so I didnt really do much fitting of the two. Just added a slight secondary angle to the sear to eliminate creep. These stock MIM parts really cant take much rework. A very light polish only because they are only surface hardend ant that is only a few thousanths thick.
If you really want to learn how to do a proper trigger job on a 1911 (there is a lot more to it than some folks realize) there are several books and some great articles about it. You will have to start with some quality internals. My favorite are Nighthawk / wilson/ ed brown. Many people just buy this stuff and treat it like "drop in parts". This is a crap shoot! you may see some benefit, you may not.
I am not a certified gunsmith. Ive worked on a lot of 1911s but I think it would be inappropriate for me to presume to be able to teach anyone how to safely modify the FCG in a handgun by posting a few pictures on the internet!!
. Basic metalworking...Sure, bonified gunsmithing advice... left to the experts.
That being said, with about 20mins worth of work the trigger on this little sucker is sweet!! crisp 3lbs!
The finish on the gun is OK, it still changes from black to brown to copper depending on the lighting. Thats fine for now.. Ive decided Im finally going to try hot bluing. This little 1911 will be my first victim!!
Ive got a friend with some experience, been collecting lots of info, exchanged PMs with RamRoddoc who has done some home hot bluing so Im just about ready. Collecting the needed stuff now. Expect to see a thread on the topic in a few weeks. Dont know how many pics Ill be able to take of the process, but Ill do what I can to report on the process and the results.
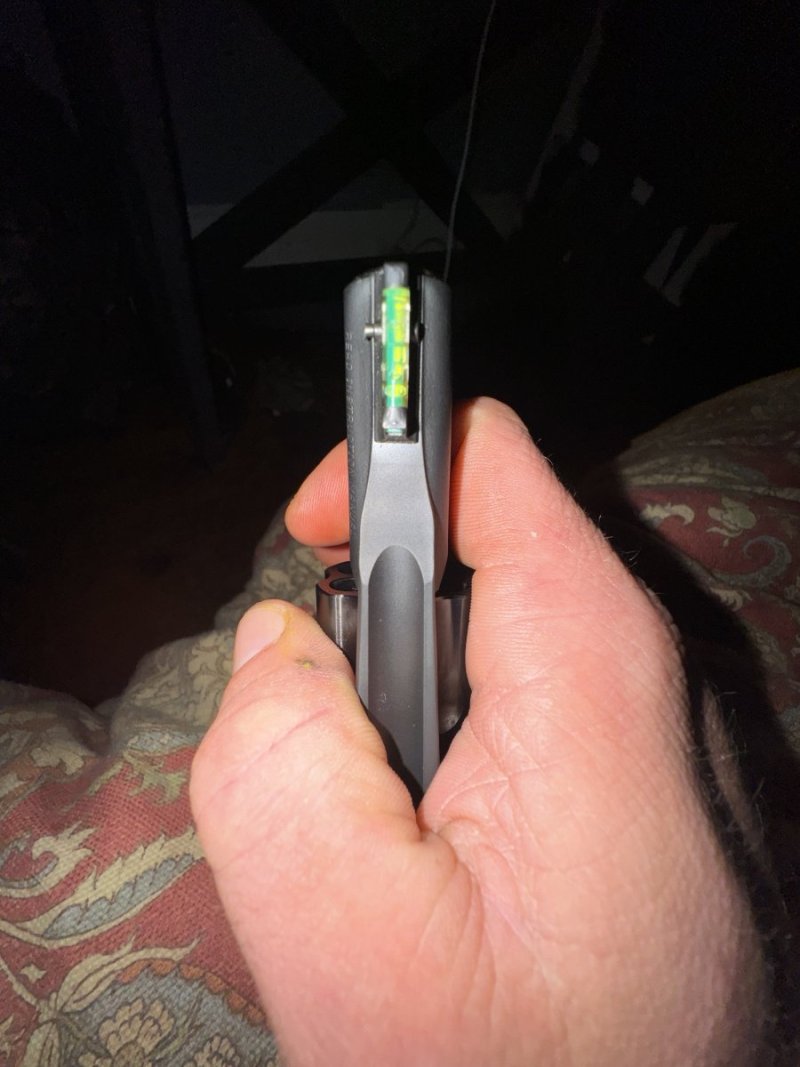
Anyway, here are the Pics. Heading to the range tonight So Im gonna bring the RIA with me and see what adjustments need to be made to the sights.
Thanks everyone for all the encouragement, its been a great project!
Shot about thirty rounds through it last night. Trigger was great, gun cycled without issues.
POI was covered by the front sight. No big deal. Shooting low is easier to fix than shooting too high! Just Gonna file the front sight down a little. My wife really likes 3 dot sights with a 6 O'clock hold. Once Ive got the Sights set I will just add the 3 dots with some white nail polish. Thats the reason I didnt order the sights with the dots pre painted, Figured there would be some fine tuning!
-Mark