• ODT Gun Show & Swap Meet - May 4, 2024! - Click here for info

Next projects are on deck for

Couldn't wait. And, based on an initial test fire and function test at 20 feet, this barrel will be mostly fine as is for a hunting and plinking rifle. Maybe need to make a new extractor, may be able to fix the original, time will tell.

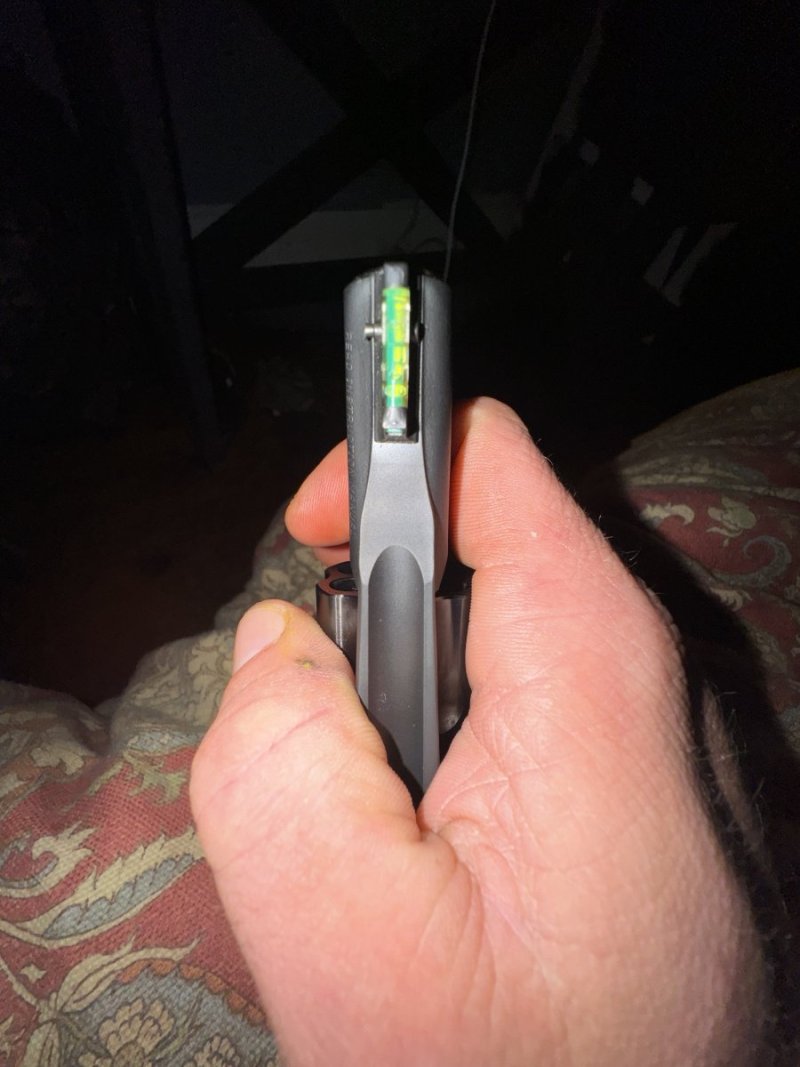
First two shots...CCI 22 CB Short....

[Broken External Image]:

And then 5 more CCI 22 CB Shorts, as good as my myopic vision and tiny v-groove sights will allow...

i.imgur.com_SATU6uX.jpg


A better aim point and 10 each of Federal 40g target velocity 22 LR....

[Broken External Image]:

Not bad for 100 years old. Who says Old Gals can't dance?
 
Is there any other finish? No way. :) Would gun paint be applicable? :mad: Not if ya have good taste. :( Could it be hot tanked?:confused: Yep but I don't hot tank any more cause rust blue is the only finish that counts!:cool-new: Yep, Rust Blue on the barrel and buttplate. Either french grey or faux case colors on the action and lever. Havn't decided on the action and lever yet...depends on how pitted it is.:pop2:
 
Sharps40 I must say you inspire me. If you did books documenting your projects I would by them. Your Marauder thread convinced me to do a Marlin project of my own. I've not enjoyed anything that much since I was a much younger man. Now you've got me thinking again.

Oh yeah, I'd buy your guns too, if you'd sell them.
 
Thanks. I move most of my projects towared other projects..i.e. I don't keep them. Once this one is done I have a 93 Mauser to do up. Glad yall are gettin inspired, loadnplenty and sw0596 and others less vocal. Eventually gunsmiths are gonna be even rarer (good ones already are rare and more expensive than average joes can afford) and in any event, many these days don't have old school analytical and fixit abilities cause like car mechanics, they simply swap parts on modular weapons like the ARs. Learn some basic skills by practicin on junkers. Find an old school smith that will let ya ask questions and help out from time to time, your labor will prolly be sweepin the floor and cleanin toilets but hey, its worth it if ya learn to do the work right!
 
The lead in (inside edge) of the lower lever screw has worn threads. This is from years of improper assembly...first install the lever. Then pull out the barrel, depress the extracter ejector spring and install the breech block screw. That way, the screws are not cocked going into the threaded lead in.

i.imgur.com_o04NClW.jpg


[Broken External Image]:

Two ways to save it. Retap the frame to the next larger size and make a new lever screw or simply make the lever screw longer. Thats easy...and it retains the original screw and its original good threads in the right side of the frame.

To make the lever screw longer, simple increase the depth of seat for the head of the screw. A scope base screw counterbore does the trick on the left side of the frame....Now the original screw bites into all the remaining good threads and pulls up snug like it should. And plenty of meat in the left frame to hold the head of the screw...the factory screw head pocket is very shallow for these thin profile headed screws.

i.imgur.com_6kITZ5n.jpg
 
One each abused fireing pin. A bit burred and gritty.

i.imgur.com_wMrRSaD.jpg


Low speed and don't shorten the tip but neatly round it over and smooth it up....1894 favorites had a chisel tip firing pin...1915 saw them switch to round tip.

i.imgur.com_uGA0HMx.jpg


Remove all the mushroom and flash from the hammer end too. Might need to reharden this firing pin...it'll make it last a bit better and a lil slicker in the hole too.

i.imgur.com_VXwCNlZ.jpg


After a light cleaning, ready to go back in place till final finishing.

i.imgur.com_GyB5wUp.jpg


Well, so far so good, still got plenty out front.

i.imgur.com_RvshFMb.jpg


Backside looks much better now too. Guess I'll harden it after all and put it back in with a new cross pin after blueing and finishing everything else.

[Broken External Image]:
 
Last edited:
Back
Top Bottom