• ODT Gun Show & Swap Meet - May 4, 2024! - Click here for info

Blackhawk Restyle

Before heading off to bluing, and while waiting for temps and humidity for rust bluing to level off a bit, I am toying with the idea of modding up the rounded gate to Flat Loading Gate, ala the early Single Six Revolvers.

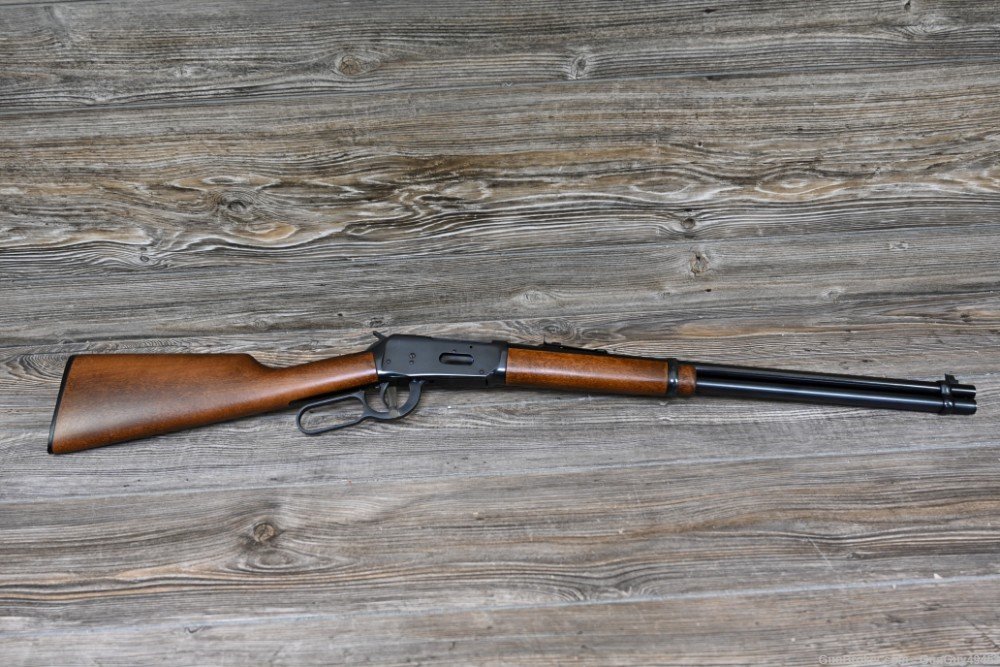
Net photo lifted and posted below....and rounded/delux gate for comparison....

i.imgur.com_pE2R7mJ.jpg
i.imgur.com_tAACjHS.jpg
 
Last edited:
I like the flatgate look of the single six. I spent a lot of time carving up masking tape shapes on the gate looking for something I liked better than flat.....it wasn't happenin for me. But I hear ya and after some research, seems the primary complaint is not enough thumb grab to open it easy and quickly. So.......I still want a flat gate, but it needs a thumb groove behind it. I decided on a semi flat gate....a bit thicker than ruger used to put in and add in a good thumb groove to flick it right and down. Combined with the groove in the frame it feels pretty good....guides the thumb into place and clicksnap its open.

First, a rough sail shape for the final sight that will go on the front of the barrel. A brass bead for durability. And, some scribe lines on the face of the loading gate to ensure even file work at the end.

i.imgur.com_O5cZTgi.jpg


I filed first down to the outer line only....I need to visualize the thinner and flatter gate but leave enough meat to center and file in the thumb groove out back. The extra lines on front help me sight in the start point for the thumb groove and keep it running evenly left, right and up, down.

i.imgur.com_Qyi7woF.jpg


Once the initial thumb groove is filed in, I filed down to line number two and off to the drill press with the small 80 and 120g sanding drums....and some water to dip the part...and my fingers in! Don't worry, ya can't hold it long enough to get it hot enough to draw the temper. But, its not hard metal afterall but its good metal and takes a lovely even finish at 120g.

i.imgur.com_pAnlGkJ.jpg


At this point, I've deepend the thumb groove quite a bit and gone back to the flat face to file down to line number 3. In addition, I've hand filed a slight chamfer between lines three and four. Not much, I don't want to have the gate edges too far under the mating edges of the frame but I do want a chamfered edge. It'll make the crescent moon shape on the flat face smaller and better looking.....we'll see that in another photo. But for now, the rough in chamfer followed by a kiss on a loose 220g belt to smooth it up and blend the chamfer out just past line number four.

i.imgur.com_p5WYTqS.jpg


The chamfer, blended, after a kiss on that well worn and durn near worn out 220 belt.

i.imgur.com_1OlF9A1.jpg


And here, the new undercut for the tip of the thumb and the smaller sized crescent flat facing the shooter.

i.imgur.com_Ec940F5.jpg
 
A few pics in place....after I stopped playin with it....open, close, open, close, open, close....

i.imgur.com_hY4dZSB.jpg


The shooters eye view....

i.imgur.com_CaU2xok.jpg


Thumbed open....

i.imgur.com_lBbGY6j.jpg


The unloading view....Now that the big blob of metal behind the loading gate is pared inward or off, I think it'll give some more knuckle room to grab onto them cases that just start out of the chamber and get em pulled out and ready for fresh loads....

i.imgur.com_sb2f1NS.jpg


I didn't press the final shaped front sight home....still gotta blue it and the slot but from a few feet back the photo starts to give an idea of the look.....gotta use yer imagination and see the rear sight wings out back for balance......

i.imgur.com_1lDP6U9.jpg


Getting close now....almost time to blue!
 
Time to see if Ruger steel is easy to rust....blue that is....rust blue. Folks say its hard to get it other than purple....I say that's cause they hot tank blue it too hot!

With luck, its less hard to rust blue than a 94 Winchester receiver, which I must say, takes a bit of work but in the end, rusts/blues pretty quickly using this old school method.

First step, clean up all the small parts and the cylinder. Get the old blue off with a simple wire brush in a drill press at 3000 rpm....a nice matted finish and I find a few small pits in the cylinder.....no worries, they weren't really visible before and they should hide just as well when I'm done. In the end, they are deeper than I want to polish out....leaving either divots or making the cylinder a bit smaller. The matt wire brush finish and kissing the cylinder with 120 and 220 (since large surfaces are difficult to wire brush finish evenly, but the 120/220 kiss will matt it nicely and have all the lines going round and round the cylinder....I finished the lines in the flutes front to back).

For this batch, only the cylinder is final finished with sandpaper, all the rest of the small parts are kissed matt with the wire brush. Here they are, degreased and awaiting the first very wet coat of Pilkingtons and the first 1 hour sit (second coat is nearly dry and a 3 hour sit, then the first boil tonight!)

i.imgur.com_jhMAQUM.jpg


10 minutes into the first wet coat, the steel is already beginning to color and develop a light bloom of rust. This bodes good tidings for the job. Lots of contours to deal with and depending on how these parts color up over the next days will dictate whether I rust blue the entire gun or try out a home hot tank blue instead. I am not looking forward to carding and dealing with all those curves, nooks and crannies....revolvers are hard to rust blue!

i.imgur.com_8pqdBAW.jpg


The flat gate is a bit different alloy, not hard but seems to puddle the solution. It may need a more matted finish than wire brush, it may just need The Special-High-Intensity-Treatment to get it to start a nice bloom of rust for blackening....much like Win 94 receivers and Marlin Magazine Tubes.

i.imgur.com_x4DSrUZ.jpg


That'll be neat looking, a greyblack dot were the steel of the ejector rod comes thru the brass ejector button....

i.imgur.com_FgiOhey.jpg


One hour from now, the second coat and then three hours later, first boil. Should be able to boil again twice tomorrow before I go visit a buddy and maybe up to 2 or three more times Sunday. With luck and good Southern Humidity, my Garage-Come-DampBox will do its usual good job and I'll know by Sun/Mon whether to continue the frame and barrel for rust bluing or start some experimentation on scraps of gun steel via drain cleaner caustic/hot blue....(yep, drain cleaner, that's what yer factory gun and custom gunsmith hot blue gun is blued with....really expensive batches of what is pretty much strong household drain cleaner)
 
Ya can infer a lot about steel from rust bluing. For instance, here in the first two photos, about one hour into the first coat/first rusting......the cylinder is coming along nicely....while the formerly Green ejector rod is not rusted or colored a bit. Also, the Front Sight blade, also resisting rusting. The steel with the least rust resisting alloy appears to be the Cimarron cammed ejector rod housing. Its rusting quite nicely and faster than the rest.

i.imgur.com_deHX2x7.jpg


Though puddled at first, the flat gate seems to bloom more quickly than the cylinder pin......I spose the no load bearing gate is a less expensive/less hard alloy than the pin.

i.imgur.com_TJeRDuX.jpg


And here, seconds after applying a second coating of Pilkingtons......more and almost instant rusting of all but the ejector rod.....that ol rod is prolly gonna have to get The Special-High-Intensity-Treatment....I don't wanna have to cold blue it if I can avoid it. Time will tell.

i.imgur.com_6xP4szK.jpg


i.imgur.com_lyLWb9E.jpg


i.imgur.com_KvVgLdE.jpg


And the Special-High-Intensity-Treatment? I keep wetting the resistant parts down every 30 minutes or so for the next three hours to encourage the beginnings of rust,,,,from there, these resistant parts will typically keep up with the rest and color out quite the same. Fingers crossed.
 
4 hours of rusting....a light coat on all the bare metal.

i.imgur.com_zOaA4Gj.jpg


15 minutes boiling in water will convert red ferric oxide to black ferro ferric oxide....then card with 0000 steel wool, sauce, rust, boil and repeat up to 10 more times till its right.

Nope....this does not hurt the chambers, bores, nooks, crannies or anything else. Its rust bluing.....same finish as factory hot bluing, just a different path to target.

i.imgur.com_fMfepHh.jpg
 
15 minutes at a rolling boil and I can see the parts have blackened. There will be lots of fluff on the metal, I'll card it off with 0000 steel wool. Under it all will be the first translucent black grey coloring of the steel.

i.imgur.com_iOn5Kk8.jpg


A better first bloom than I thought I'd have given the humidity and temps are just high enough. All that black fluff has to come off, its not color, just residue.

i.imgur.com_dtlYXhA.jpg


After carding with steel wool. Translucent black grey, we'll continue the process for several days in 3 to 12 hour increments building the color and depth with each succeeding cycle of rust, boil, card, repeat.

i.imgur.com_NR5mDxw.jpg


The cylinder faces are fine, the circumference a touch splotchy but it should even up fine. As for these parts, mucho bettero than I'da thoughto....(we had Mexican for dinner).

i.imgur.com_jQjfrRW.jpg


i.imgur.com_tp2Qkcb.jpg
 
Humidity is down to 42% in the garage. Tonight will be a true slow rust blue. If its not back above 50% tomorrow evening I'll move the parts to my trusty damp box. A cardboard box with a wet paper towel in the bottom, a mug of hot water and a towel over top. 60F and up is fine, just need a scooch more humidity to speed up the process, of course, slow rust blueing, so speed up is a relative phrase.
 
Back
Top Bottom