• ODT Gun Show this Saturday! - Click here for info and tickets!

Need Polishing Advice From The Pros

Proximal

Default rank <5000 posts
ODT Junkie!
26   0
Joined
Feb 23, 2012
Messages
4,527
Reaction score
34
Location
Braselton
As the title states, I need some advice on how to properly polish metal parts. I'm reatively new to polishing and could use some guidance on the process from start to finish. There are some really talented guys on here that have put out some excellent work and I'd love some step by step instruction. I also understand that a lot of guys may do things differently and I welcome any and all input.

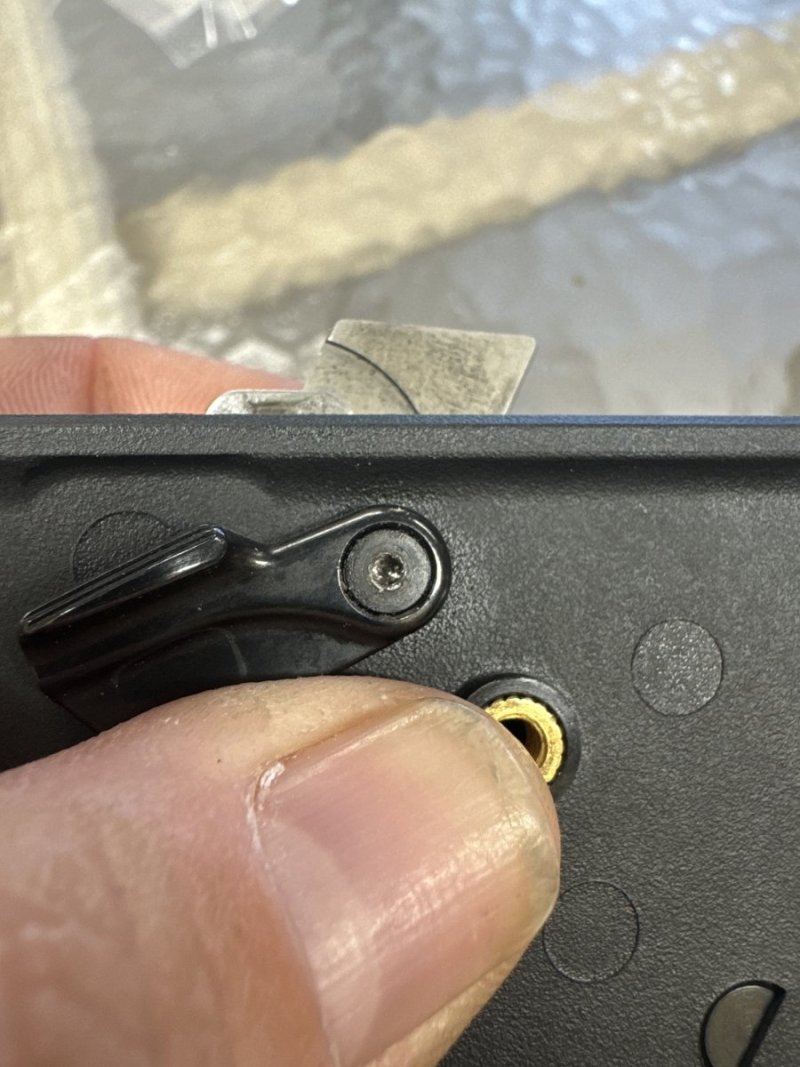
I've been working on polishing the trigger, hammer, thumb safety, grip safety, slide release, mag release, barrel, and barrel bushing on my 1911. I can get it to a nice shine but not to the high polished mirror look. Any advice on process and tools used?
 
I'm no expert but I have made plenty of mistakes that hopefully you can avoid or at least be aware of.

The mark of a novice is rounding off the sharp corners and edges. Thinning the markings or removing them is as well. In general small pits can be removed with a light touch of a small file. I will progressively sand with heavier grit paper/cloth first then finer. After a file for pits or a rough starting finish, I use 150-220 grit metal sand paper (aluminum oxide is common). The next step or if the finish is smoother starting is using around 400 grit to begin with. This is often the similar to a factory standard "polish". You can dry sand until it looks good then wet sand for and ending if you like. You can progress up to 600, 800 and 1000 grit to steel wool to get to a mirror polish. When close a buffing compound will give it a blinding glare-mirror like finish. Many use a wheel to finish it off but beware aggressive use of the wheel too early can really make a gun look like crap.

To maintain sharp edges use a very solid flat surface like a glass plane or a flat sharpening stone for smaller areas. Typically you need to break the gun down all the way to get the best results. For curved surfaces a section of dense foam (I use the motorcycle race seat foam) cut to fit the areas.

Avoid polishing surfaces that will negatively impact shooting. A slide should bead blasted on the top of the sight plane and the sights should be blasted dull to avoid distracting reflections. Maintain the grain of the metal and go with the flow. Wear a dust mask as the metal dust is not good for you and can be harmful.

I can't express how helpful a sand blast cabinet is. I posted a thread a while back on sand blasting.

http://www.theoutdoorstrader.com/threads/55513-Sand-blasting-stainless-steel-pistols?highlight=sand+blasting

This sand blasting thread had a wealth of information: http://www.theoutdoorstrader.com/threads/50980-Blasting-options?highlight=sand+blasting

Some other pitfalls, using carbon steel wool on stainless and rust spots developing. Sand blasting with old media that has been contaminated with carbon steel (stainless will develop rust spots) or aluminum will affect a final finish (hot blue). Also don't sand or polish hardened aluminum (feed ramps) as you can soften the ramp and ruin the frame. Revolver cylinders lend themselves to a shoe shine method of sand/polish with the recess areas a dense foam block will get the job done.
 
Last edited:
Thanks for the info! I'll give that a shot. I had started the pieces with 400 and worked up to 1500 but I was having a hard time getting all the pits out. I guess I'll drop the grit back down until I get that smoothed out then jump back up to 1500. Once I get It looking good I'll try the steel wool and see if I can get that mirror finish.
 
what do you guys think of the dip we been trying to learn
and what he said about a blasting cabinet
no way I could live without one unless you doing a lot of big items
I have a trick for when I do

here is some of the camo dip process' my son and I are trying to get going

confederate camo and muddy girl camo
let me know what you think


[Broken External Image]:
[Broken External Image]:
[Broken External Image]:
[Broken External Image]:[/QUOTE]
 
I have seen some really interesting "dips". How do they hold up compared to a more standardized finish like Duracoat or Cerakote. The designs seem limitless and I'm sure my son (18 years old) would enjoy his rifle dipped with a computer geek theme.
 
RamRoddoc gave you a pretty complete answer, Ill just add that if Im trying to remove pits or tool marks I do it with a fine file then 220-400 grit 3M and LOTS of oil on the paper. Every grit higher then that is just to remove the sanding scratches from the previous grit. Its pointless to try and remove imperfections with 800 for instance. You never want to just back the paper up with your fingers on a flat surface, always use a sanding block. You will get creative looking around the shop for things to use as blocks. After the 1000 grit, clean the parts really well, and break out the dremmel and those little 1/2"- 1" wool wheels and rouge. Put the rouge on the wheel, not the part. Just run the spinning wheel across the surface of the rouge. Use light pressure of the wheel on the part. If a small part gets too hot to hold, your pushing too hard. For larger parts, a bench mounter grinder with a large wheel is best.
-Mark
 
Last edited:
Just to update, I had great luck with this advice and my project came out looking great. I detail stripped the 1911 and made a group of parts to be polished and placed the other small parts into a plastic bag for safe keeping. I then wet/dry sanded the really rough pits and machine marks with 150 then 220 grit. Once they looked good I stepped up to wet 400 (or 440 can't remember), then 600 wet, 800 wet, and finally 1500 wet. I used some PE foam with FR from computer monitor packaging (I'm a plastics nerd so that may be TMI) as the backing because it gave enough to go around corners without issue.

Pics to follow tonight. Got to run and take a look at my baby via ultrasound 3d really fast.
 
Be very mindful around pin and screw holes. If polished incorrectly it will give a dished appearance. It is the first sign of a rank amature. Keep sharp corners sharp and lettering crisp. If possible back your paper/cloth abrasives with a piece of glass when doing flats. It will keep the corners crisp. Lettering will look washed out if buffed wrong.
 
Be very mindful around pin and screw holes. If polished incorrectly it will give a dished appearance. It is the first sign of a rank amature. Keep sharp corners sharp and lettering crisp. If possible back your paper/cloth abrasives with a piece of glass when doing flats. It will keep the corners crisp. Lettering will look washed out if buffed wrong.

Yea, I learned that the hard way with the barrel bushing. I gave it a bit of a rounded edge on the bottom. All of the other parts were fine. I did reprofile the ambi safety because it had a ridiculous angle on it and was uncomfortable. I ground it down and polished it the way I wanted it. I'll be getting those pics up tonight as soon as I get home.
 
Back
Top Bottom