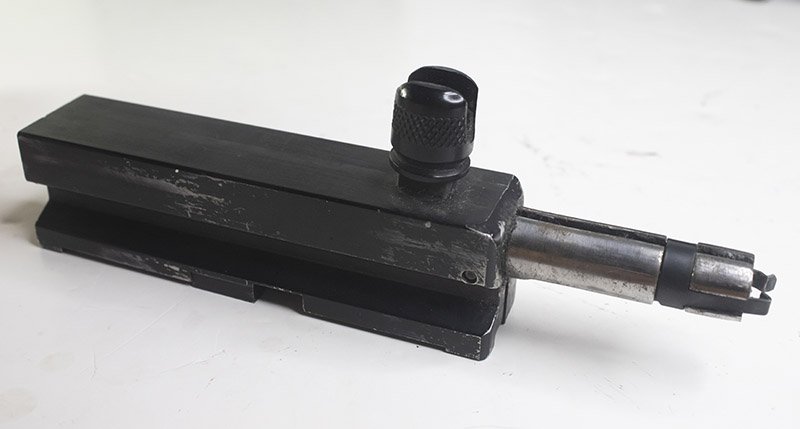
The steel insert can not be adjusted. It looks like in your pict of the back side of it there is some loss of finish on it, which would indicate that it is rubbing. Or it could be the light....
I bet the bottom of the metal insert is hitting something on the frame. I would file it down little by little. I would not mess with the frame rails if they are right....
I bet the bottom of the metal insert is hitting something on the frame. I would file it down little by little. I would not mess with the frame rails if they are right....