• ODT Gun Show this Saturday! - Click here for info and tickets!

Busby The BearCat

Sharps40

Default rank <2000 posts
ODT Junkie!
4   0
Joined
May 17, 2010
Messages
1,948
Reaction score
1,023
Location
NC
Back to work.....This and several other projects perked to the top of the list now that Deer Season is nearly over.

Busby is a not too bad OM Bearcat, 1960/61 vintage, .22 LR

i.imgur.com_Ut6NCbz.jpg


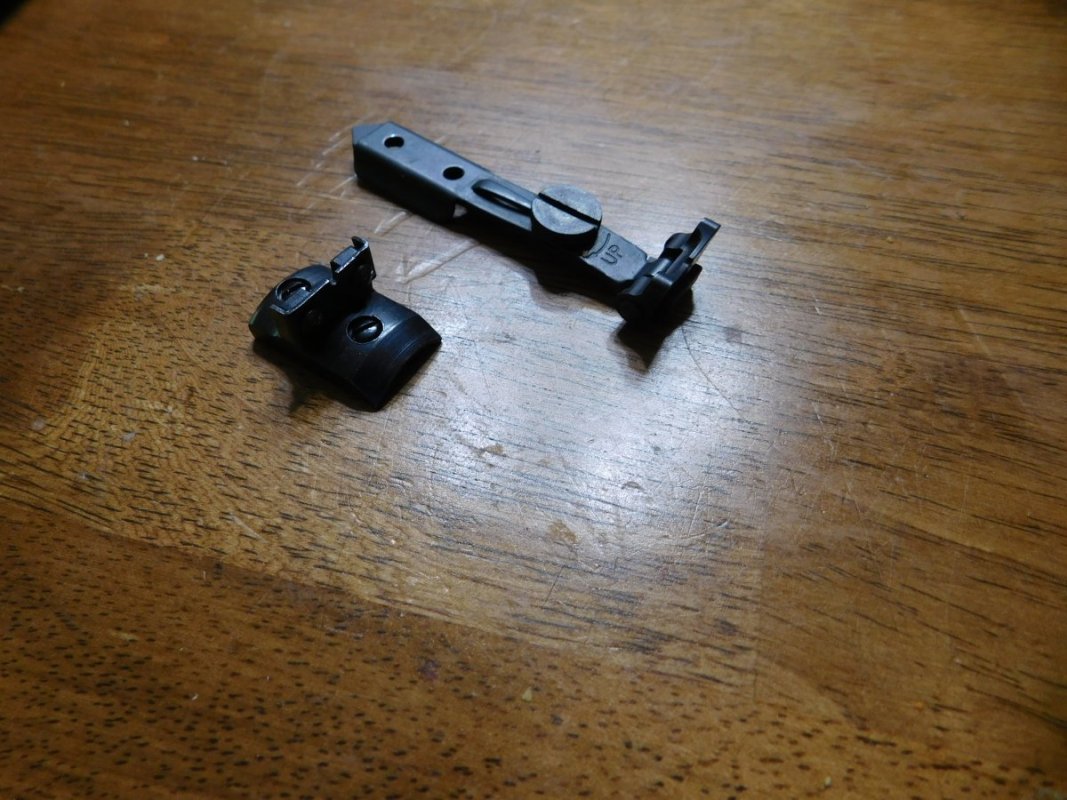
Busby has his original staked in place sail front sight, well butchered with a file and not polished or reblued.

i.imgur.com_Daz86zh.jpg


He also has a well butchered cylinder lock....sides, cylinder bump and ground durn near too short on the back....ocassionally, Busby locks up at half notch and ya can't spin the cylinder.

i.imgur.com_LtLPkIG.jpg
 
But, Busby (named after a fellers first pet, a fine turtle) has a decent aluminum frame with good enough anodized finish to think strongly about leaving it as is in the Aluminum cosmetics department.

And more importantly, all the threads in the aluminum and all the windows for hand and cylinder locking bolt are in fairly good condition. So, I'll focus on Busby's functions and steel components.

Fortunatly, the hammer notches and sear remain unmolested.....these are OM parts. Durn hard to find. Oh, yeah, no transfer bar in this one, so, its a load one, skip one, load 4 gun......do it that way and when you draw the hammer back and set it down on the safety notch, there is an empty cylinder under the firing pin.

i.imgur.com_mVmlsLm.jpg


Like most all Ruger single actions, Busby has a buncha slop between the trigger and the cylinder locking bolt. In this case, a stack of 5 ea .002" shims snugged up the wobble and rotation in the cylinder and fined things up in the trigger too. So, I'll pull those temporary "check it out" shims and make up one to slip in there.

i.imgur.com_Whsc0sb.jpg


Now Old Busby has a bit of end shake. A Smith J Frame end shake shim, at .002" thick takes most all the slop out when inserted between the cylinder and front of the frame. I just slipped it in for now.....may see if I can semi permanently affix it to the cylinder later.....sure would make things easier to assemble.

i.imgur.com_w7qUjpA.jpg
 
Lookin over sights, some interesting applications come to mine from the Muzzleloading world.

The old mans nose sight.....probably too big for this little revolver....

i.imgur.com_CADO1QI.jpg


The brass heart sight is pretty and just tall enough to allow some latitude in zeroing....

i.imgur.com_vklOKGC.jpg


The Sterling Silver horse front sight (he faces the shooter) at 7/16 high is too tall but would work on a Blackhawk or perhaps a nice rifle project.....to be determined.

i.imgur.com_TIa83ZX.jpg


But, since Busby The BearCat is named after a pet turtle, a turtle it is.....sterling silver. I'll get two in case I melt one trying to solder this mess together!

i.imgur.com_a1PU83T.jpg
 
I had thought about a 3" Shopkeeper/Sheriff conversion to this one. But everything I read about the Lipseys Shopkeeper is with the short barrel a hard to unload gun becomes a real PITA to unlode.....specially if ya got ham fingers. So, I am pretty sure this one won't get trimmed, thus saving the full extraction and avoiding the number one internet fix for the shopkeepers....grinding out the back of the chamber to a bevel (often described as a cone). Nah, I think I'll give it a test fire as is and if all is well, fix the butchered parts and some cosmetic attention.
 
Really want to brown the steel but quite concerned that even the fine finish in rust will obliterate the roll markins on the cylinder. Those markings are so fine. I'll have to play with some steel while I await the turtle for the front end.
I am also considering rust black on the cylinder and ejector rod housing with a brown on the gate and barrel.....it might look fine, black in the middle, brown front and rear.
So many decisions.
 
$25 shipping paid via fleabay scored me a baggie of OM BearCat parts in Wondermus condition! Very pleased. I think most every major part in the baggie will go into Busby and we'll reserve the old and the hacked in the baggie as backups. (and in the background, English straight grip and splinter forend in strong tight straight grain walnut for the Coach)

i.imgur.com_hDJgBfm.jpg


The big scores in the bag are the wonderful condition and unmolested locking bolt....thicker and smoother and much less worn....well, at least not worn by hammer and file. Also, looks like we have a solid hand in great shape for the cylinder. If it does not need much fitting, this may go in place too. And a new mainspring and strut.

i.imgur.com_7D02qAB.jpg


Here, on the left, the molested locking bolt and the replacement on the right. The aft end, or leg that is impinged by the hammer plunger. As you can see, the original (left) was filed, rounded and then finally, beaten thin and long with a hammer in some misguided attempt to "Smith" Lil Busby.

i.imgur.com_cKt6cYg.jpg


And there, the locking ends, the molested lock on the right.....filed, rounded, filed on the sides and too short and too thin and nearly ruined. Please, you Hacks, if you don't know what yer doing, stick to painting guns.....at least paint can be removed later and no harm done. Go get some training and Grip Chop a Glock or pull the turd out of the punch bowl and make a Mosin even uglier before ya "Tune" a nice weapon.

i.imgur.com_tDQnNpQ.jpg


And so, the new lower mileage uncut locking bolt in its new home awaiting function testing.....which went well by the way. Since it aint' been beaten thin, it fits the cylinder notches and cut much of the rotation out of the lock up. A bore size rod does not catch the cylinder mouth when the hammer is full back and so, test firing can begin soon.

i.imgur.com_B1WvjAW.jpg
 
All of my gages under 10 thousands thick are in the shop across a vast expanse of ice....I'll not be goin for em today. Except maybe to fetch em tonight on the way in from hunting, but......

Given the 10 thou feeler I have in hand, a measurement of barrel to cylinder gap was taken.

Busby now has a .002" stainless shim between front cylinder face and front frame retained by the cylinder pin.

The barrel to cylinder gap is well under .010". As such, a fine small gap and no further adjustments needed. I'll measure the value more accurately later but for now, its enough to know it ain't too wide.
 
I do believe that all but one mechanical/maintenance job for Lil Busby is done.

1. The cylinder locking bolt is replaced and checked for function. It retracts and stays down when its supposed to.....and like most revolvers, its face just kisses the cylinder when it is being rotated for loading and unloading. Unlike the much filed and often pounded (hammer peen marks all over its sides) original locking bolt, this one works and locks the cylinder perzactly when the hammer enters the full notch. Job One Done.

2. Job two was taking the slop out of the cylinder, excess rotation and wobble mostly. The new locking bolt helped a lot, it was not ground and pounded thin, making a better fit in the frame window and cylinder notches. But, a shim between bolt and trigger will help tighten/better any Ruger single action.

Working with some .020 steel, I cut a section, drilled for the pin and polished it down to .007" thick. I arrived at that thickness by trial and error. When its thin enough to allow function of the bolt and trigger but thick enough to help alay much of the excess slop.

i.imgur.com_XetUNFU.jpg


And here the shim installed in the middle....each part held more accurately over to their respective working locations on the insides of the action cut. Job 2 Completed.

i.imgur.com_edSgdTI.jpg


3. Shimmed the cylinder to frame fit at the front. Right now the shim is floating. Not sure if I'll leave it float or glue to the frame or solder to the cylinder. We'll find out later, when I decide.
 
Function test. Steel 22 stop, fronted with 9/16 plywood target holder to prevent back splatter at close range. For perspective, red dots are 1/2" in diameter.

First round, all replacement parts and cylinder and trigger shim installed.....load one, skip one, load four, hammer back, then down on empty chamber....remember, its an old model, a 5 shot 6 shooter.

8 feet, CCI CB Long, 5 shots, aim point is center of the red paster.

i.imgur.com_j2aLFmT.jpg


16 feet, CCI CB Long, 5 Shots, aim point is top edge of the top of the freshly applied red paster.

i.imgur.com_ImssV09.jpg


16 feet, Federal Auto Match Long Rifle, Standard Velocity, aim point is the center of the two lowest red pasters.

i.imgur.com_eATxrCh.jpg


16 feet, Federal Auto Match Long Rifle, Standard Velocity, aim point is the center of the two lowest red pasters.

i.imgur.com_2c08db3.jpg


The verdict.....mechanically, Busby is fully functional and about as tight as a handgun made in 1960/61 (and heavily used) can get. I'd say, where lock up/timing is concerned, nearly as new.

However, it is evident, Busby's front sight is way too low. Current height is .151". Original height in 1960/61 was .1875ish. Late models increased height to .250. The inbound turtle is .3125ish. So. Regardless of barrel length, and if I can solder on a Sterling Silver Turtle without melting its feet, head or tail, Busby will have a new sight sufficiently tall for tailoring to the load he likes best.

Success.

Now for deciding how and if the cylinder shim should be affixed and then to cosmetics.
 
Back
Top Bottom