It's very nice having TruPrep 10 minutes away...one of my favorite stores.I consider this an oddity:
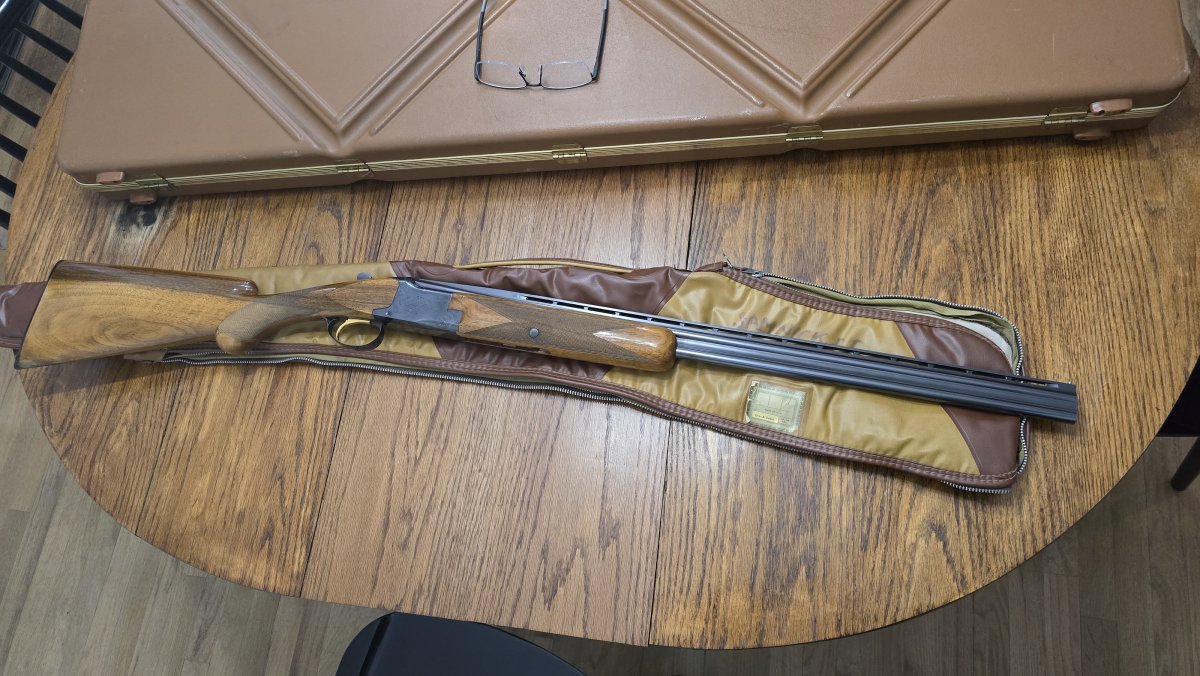
I walked in a store yesterday with a rifle and a bunch of parts. No appointment. Walked out an hour later with my rifle, a new friend and a much better understanding of the difference between someone who can build an AR (me) and someone who mastered the process (Shep).
Long story even longer... this place (ODT) continues to impress me. I’ve had dealings with some of the finest people I’ve ever met through ODT. Yesterday was no exception.
Thank youcmshoot and thank you Truprep!
-
ODT Gun Show & Swap Meet - May 4, 2024! - Click here for info
A Tale of Two Crush Washers, or Two Crush Washers One Barrel, and other AR oddities
- Thread starter cmshoot
- Start date