• ODT Gun Show & Swap Meet - May 4, 2024! - Click here for info

Opentops....correcting faults on the new Ubertis

Sharps40

Default rank <2000 posts
ODT Junkie!
4   0
Joined
May 17, 2010
Messages
1,946
Reaction score
1,000
Location
NC
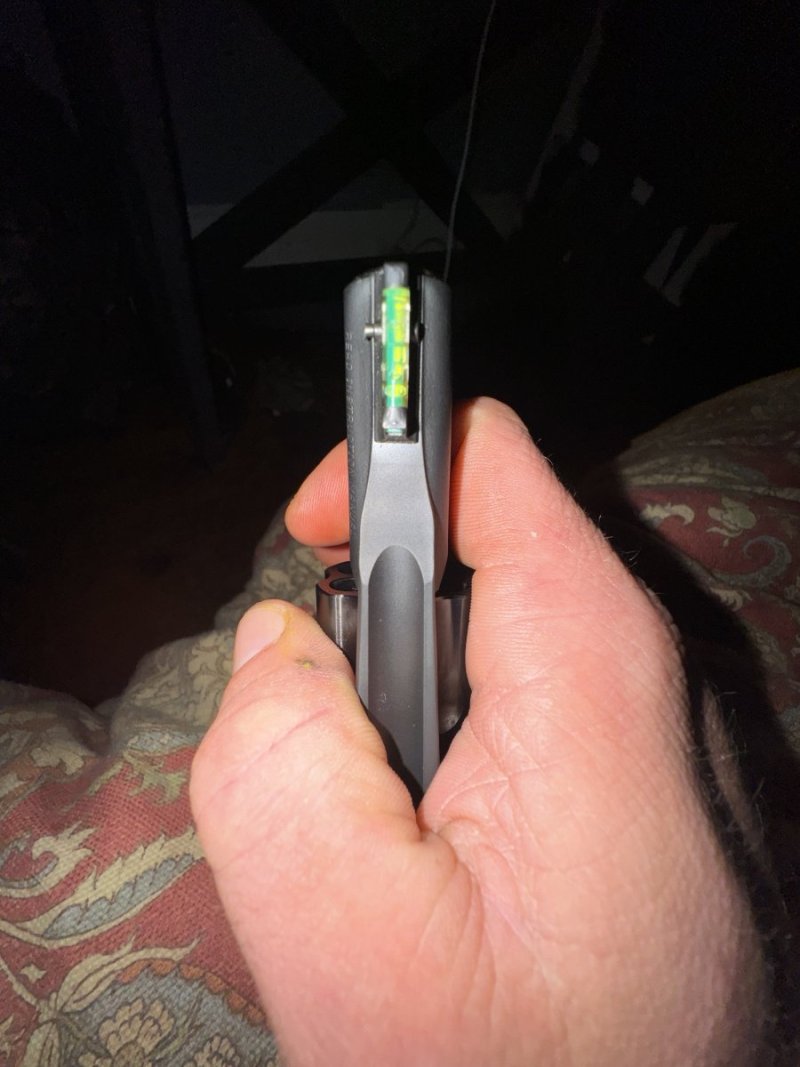
Cimarron, 1872 Opentop, 44 Special Caliber, Brand new in box and as provided by Cimarrons finest hand picked for the best quality and your perfect value.......yeah...okay.....

First impressions are not the gooey yumyum feeling touted about. If this is a typical example, the fitting of a feature related to accuracy and longevity is sub par. The Model Ps are very much better from the same company.

As boxed it'd be OK as an occasional plinker. But it'll need a bit of final fitting, stuff that should be done at the factory, to be ready for daily work over the long term. More to follow tomorrow.

1.jpg
 
Well, on the externals.....broken wedge screw. Lost its head on the first turn.

Arbor burrs had locked bbl to frame. Hammered in a wood wedge to force them apart

Short arbor, expected and easily fixed.

Hammer dosnt fall, bolt won't rise and trigger won't return if backstrap screws are snugged down.

Other than that .... it's pretty.
 
Step 1, finish the factory fitting of the grip strap. Clearance the hammer slot so the damn thing can fall and consequently cure all the noted action failures.

Step 2 shorten and install a Wolff mainspring for the 1873 Model P. Now the gun won't beat itself to death and shaved the pull from 4.25 lbs to 3 lbs all before any internal smoothing.

2.jpg
3.jpg
 
End shake is near zero with cylinder gap variable from .006" to bound cylinder depending on wedge position. Lengthening the arbor will cure the barrel pinchi g the cylinder.

A junk box screw with a nice thick and sturdy head was modified and pressed into service to retain the wedge.

6.jpg
 
Opened it up, cleaned it out. Not bad for dirt, very nice for internal finish and up to the good standards I'm used to seeing from Uberti.

The cylinder hand bound against the arbor, it was just a touch too thick. A few swipes with an india stone on the inside top edge of the hand pretty much eliminated the bind.

The cylinder bolt was peaning the trailing edge of the cylinder notches. A check indicated though the bolt trailing edge was fitted, it was not fitted enough for the bolt head to fully enter the cylinder slots. A few swipes with an india stone on the trailing edge of the cylinder bolt head and it then fully dropped into each and every notch.

The leg of the cylinder bolt that rides the hammer cam had been beveled along its angled edge but not the top edge which must slip up and over the hammer cam. A few swipes with an india stone rounded over the top leading edge of the leg and the movement became quite a bit smoother.

A Wolff wire bolt and trigger spring for the 1873 Model P Colt/Clones was checked and installed.

No other action work was accomplished. Hammer notches and sear face are untouched. Internals were dry lubed with EEZOX and points/pivots that rotate or slide were given a touch of RIG.

With no serious metal removal, the 4+ pound slightly gritty trigger pull is now smooth and crisp 2 lbs 4 oz.

9.jpg
 
The arbor is short, or the arbor hole is too deep. Either by design or by luck the difference is less than .001" more than the thickness of a Fillister Head screw from brownells. The situation allows the barrel to cam upward both chaning the point of impact and the barrel cylinder gap. The barrel can be cammed up enough to bind the cylinder.

10.jpg


So, the arbor face is spotted center and a #31 hole drilled through and then tapped in preparation for giving the gun three points of contact. (point one is the foot of the barrel, point two is the wedge to barrel/arbor interface and point three will be arbor face to arbor hole bottom)


11.jpg


Threaded 6x48 screw installed tightly with blue loctight.

12.jpg


Now the barrel and frame meet perfectly. No matter how hard the wedge is pounded in, the barrel cylinder gap is maintained at a perfect .006". With this modification, the gun will be the same gun, printing and shooting the same every time it is reassembled. Only way to get it better is to purchase a full frame revolver!

13.jpg
 
As always. Slight change of plans. 4 3/8 bbl with full length ejector didn't look right so.....Chopped to a true 4 in.....installed try bead temp front sight and now have to try my idea to mod the ejector back to 3/8 or so shorter than the bbl.
22.jpg
21.jpg
20.jpg
 
Back
Top Bottom